User Guide of StarzSoft Data Recovery for PC
StarzSoft Data Recovery is a professional and powerful data recovery program, designed to deeply scan your computer, and humanely let users filter and recover the data from lost/crashed/formatted or RAW drivers.
With high efficiency, it supports recovering 1000+ types of data from a variety of storage sources, including desktop, recycle bin, hard disk drivers, external drives, lost partitions, USB drives, MP3/MP4, digital camera, and memory cards etc. The 100% safe recovery and high recovery rate make it stand out in the industry.
1. Download StarzSoft Data Recovery for Windows
Before starting to use StarzSoft Data Recovery to recover your lost data, we need to download and launch it on PC.
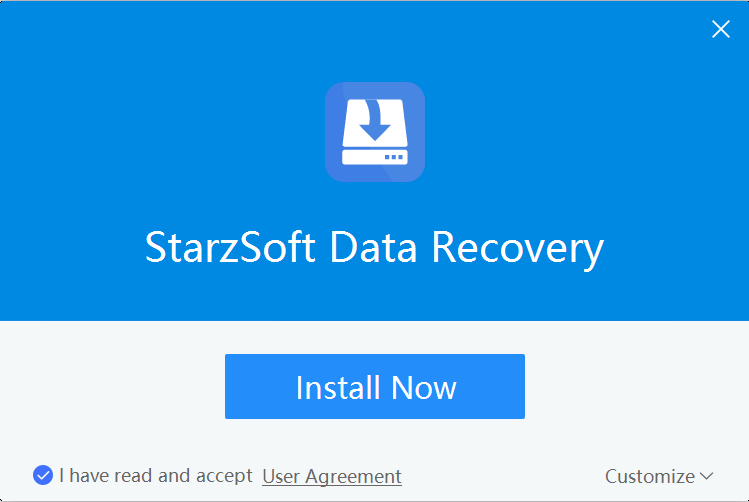
Step1. Download StarzSoft Data Recovery from the official site, and install it.
Free DownloadSecure Download
Step2. Launch StarzSoft Data Recovery
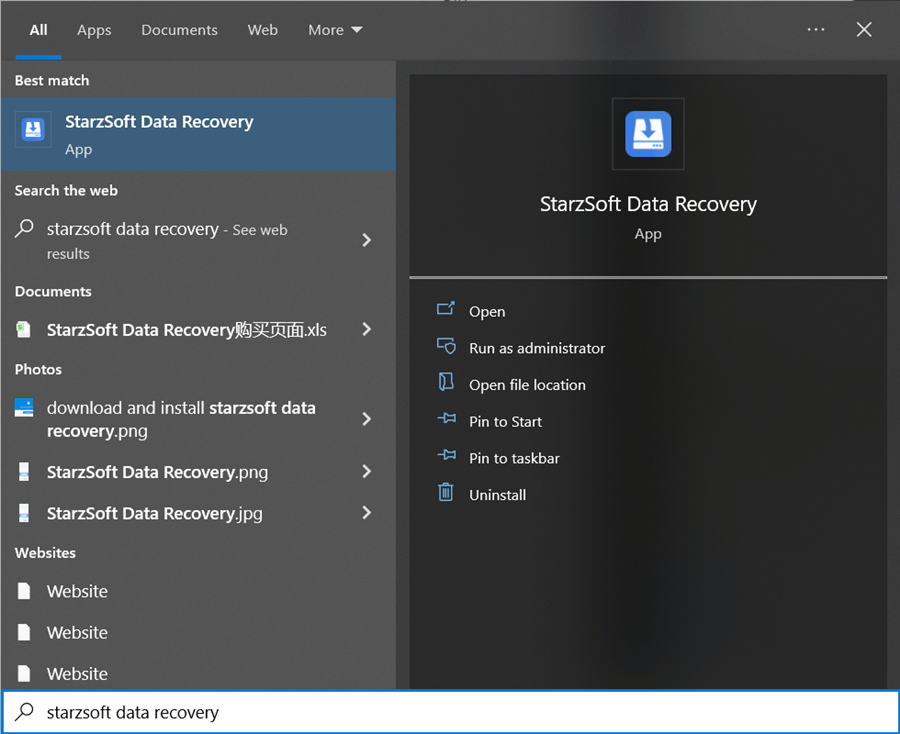
Find “StarzSoft Data Recovery” on the desktop, just double-click the icon to launch it.
If “StarzSoft Data Recovery” is not on the desktop, “Type to search”> enter “StarzSoft Data Recovery” > “Open”
2. Quick Access to Recover Lost Data
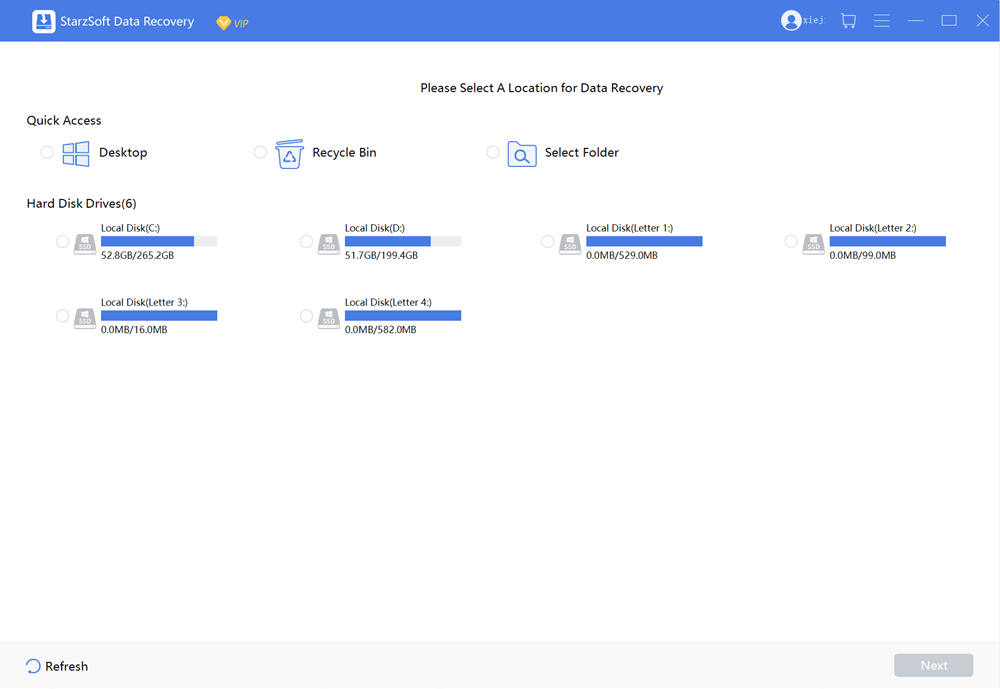
How to quickly access the data you lost? We divide the common locations into 3 parts, Desktop, Recycle Bin, and the last one, you can select any folder on your PC flexibly.
Now we will take Emptied Recycle Bin recovery as an example.
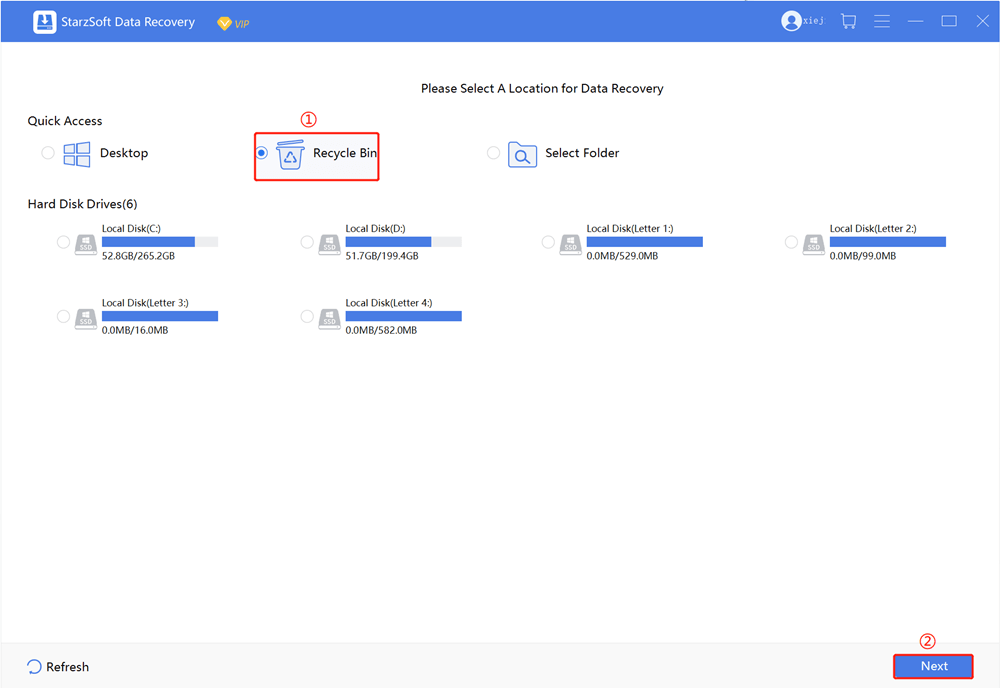
Step1. Select the Recycle Bin
To restore deleted data from recycle bin or restore the whole recycle bin, choose “Recycle Bin” and click “Next”
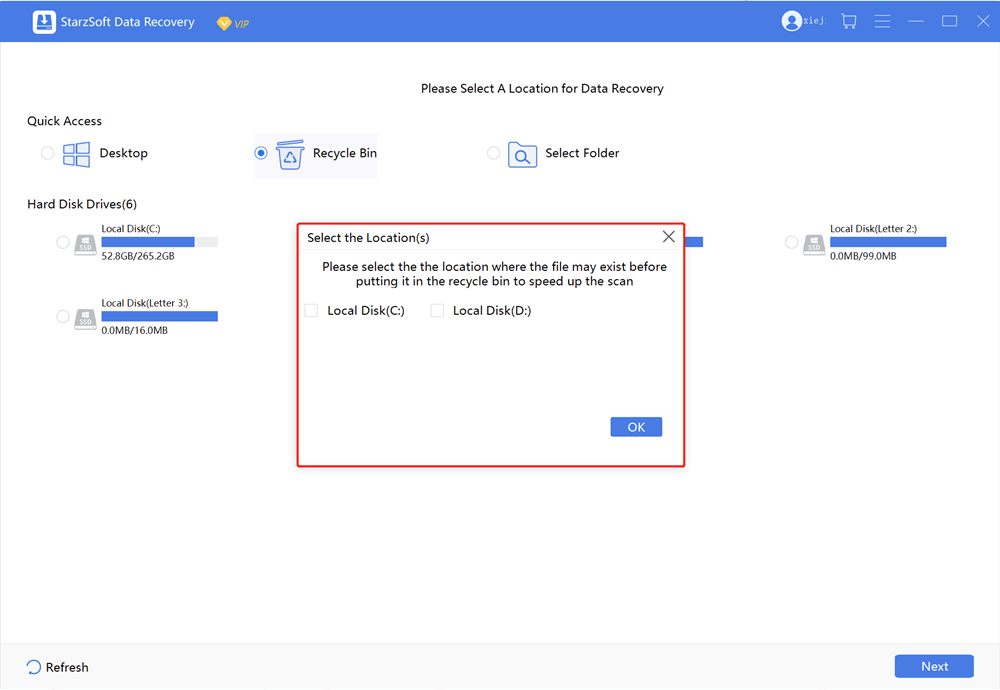
Step2. Select the Location
From here it will pop up a window to select the location where the file may exist before putting it in the recycle bin. Choose one of them or both, and click “OK”
Step3. Scan the Recycle Bin
After selecting the location, it will automatically scan the recycle bin to search for lost files. You can “Pause” or “Stop” the scanning process at any time.
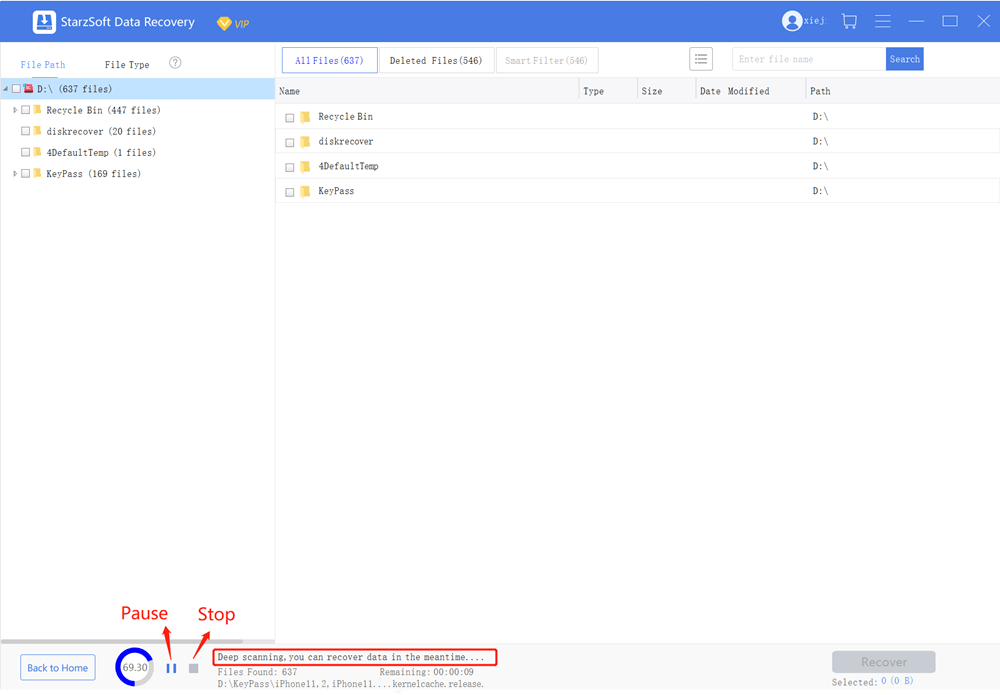
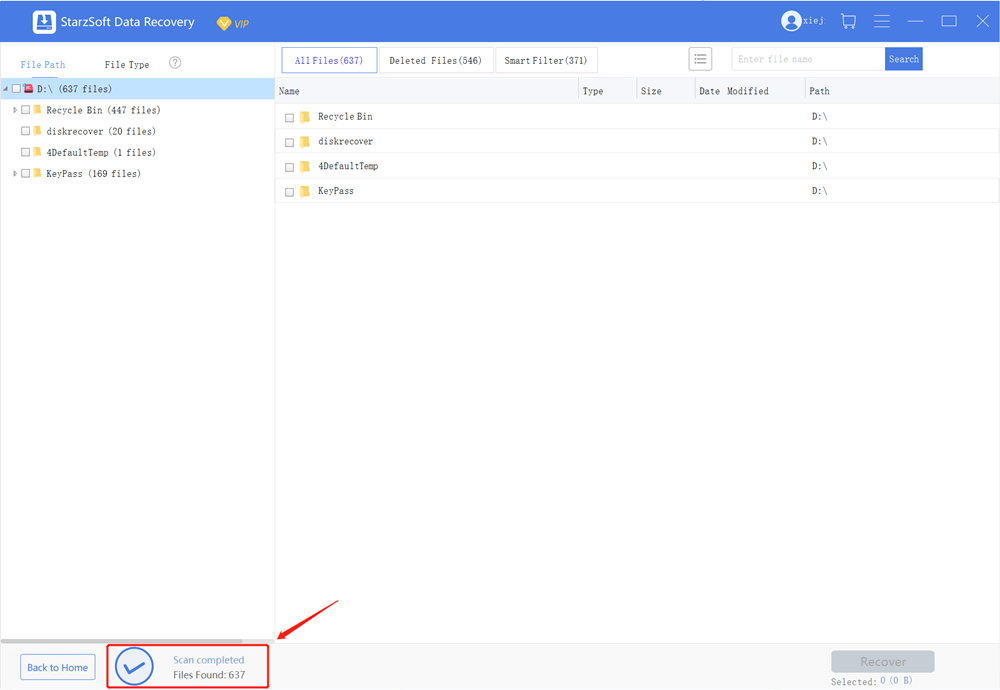
It shows the remaining time and reminds you when scanning is completed. Then you can continue to filter and recover the lost data.
Step4. Preview and Recover the Data
1. Filter the Data
When the scanning is completed, all files will be neatly placed. How to find your lost data asap?
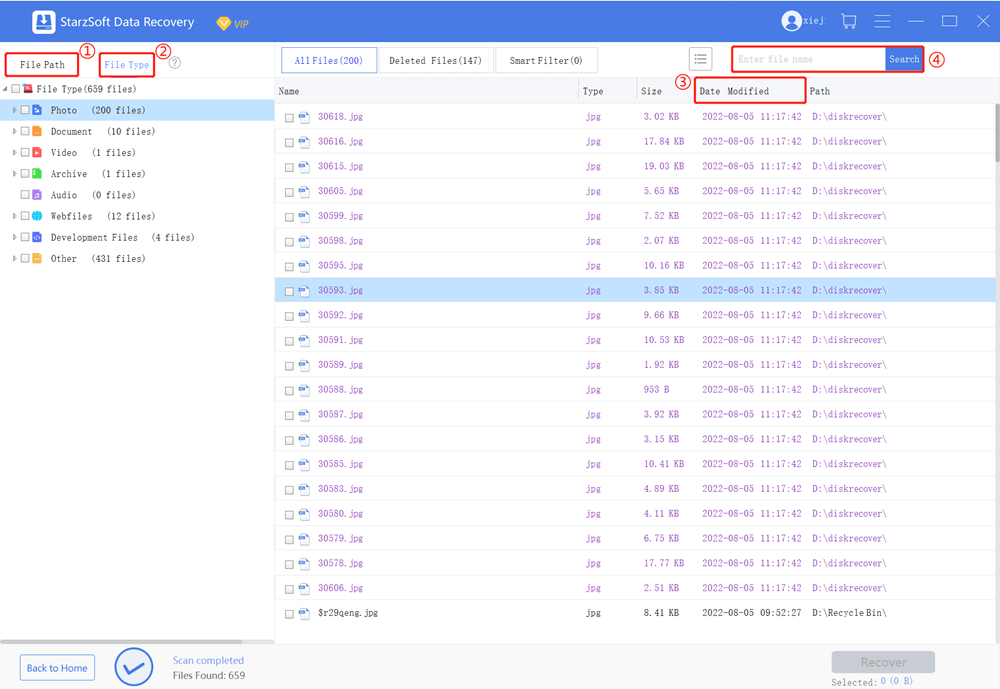
1. For “File Path”, it means the route on your computer when you store the data.
2. For “File Type”, it means from here, all the found data will be classified as different file formats like photo, document, video, archive, audio,etc.
3. You can click “Date Modified” to find the latest lost data.
4. If you know the file name, you can search it here to find your lost data more quickly.
2. Preview and Recover the Data
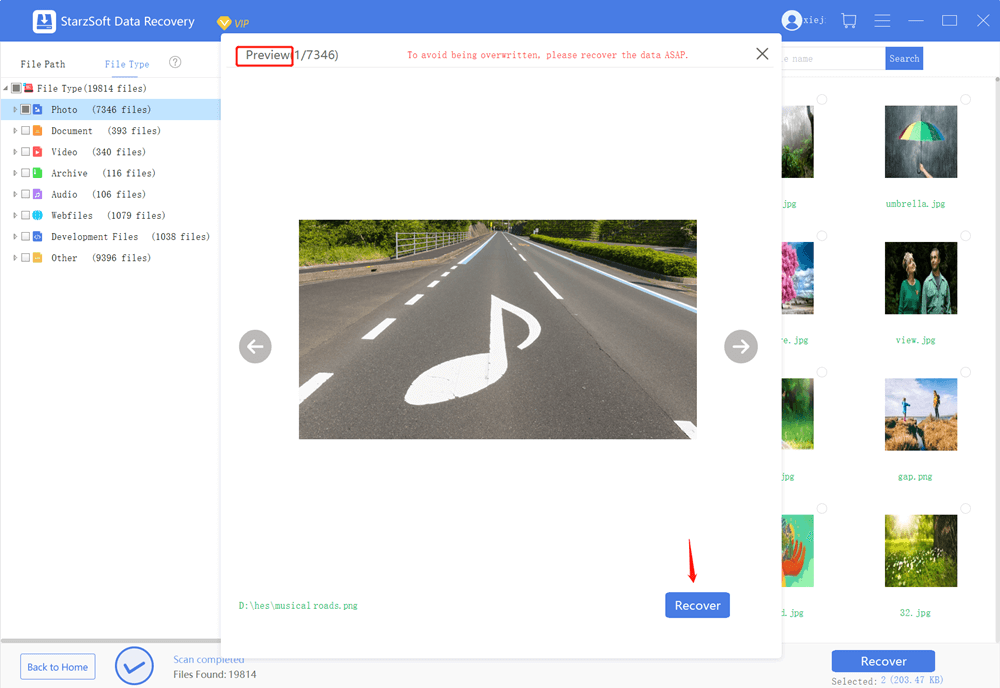
Double-click on a file, it will pop up a window to let you preview the file, if it’s the file you lost, click recover directly.
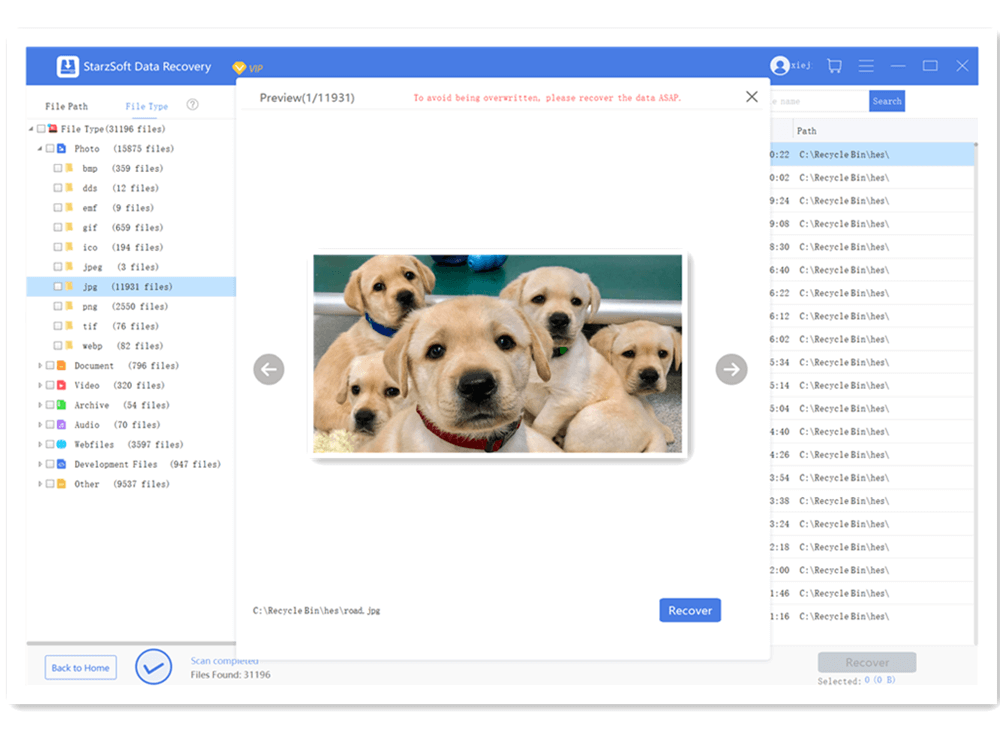
Note
3. Save the Recovered Data
When recovering your files, you need to select a path to save them. To avoid data damage, make sure to store files in a non-original partition.
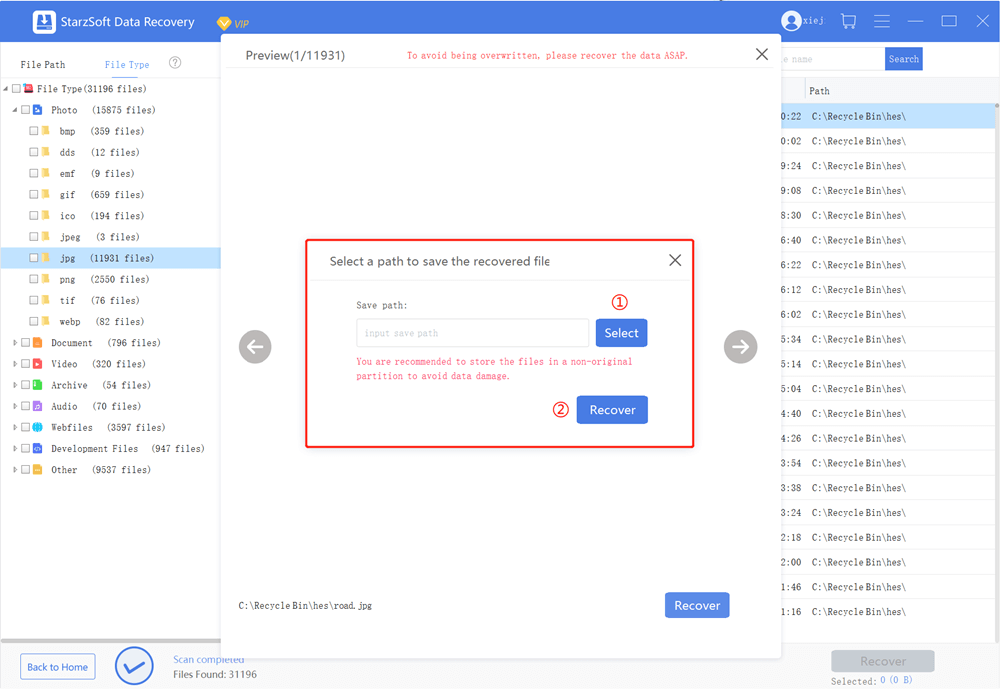
You can select one/more than one files to be recovered at the same time, after successfully recovering, open “folder” to find it.

3. Recover Files from Local Disk
Can I recover permanently deleted files from a disk? Is there a way to recover deleted files on PC or from a dead SSD? YES! To recover lost data from internal driver, there are only 3 steps to reach.
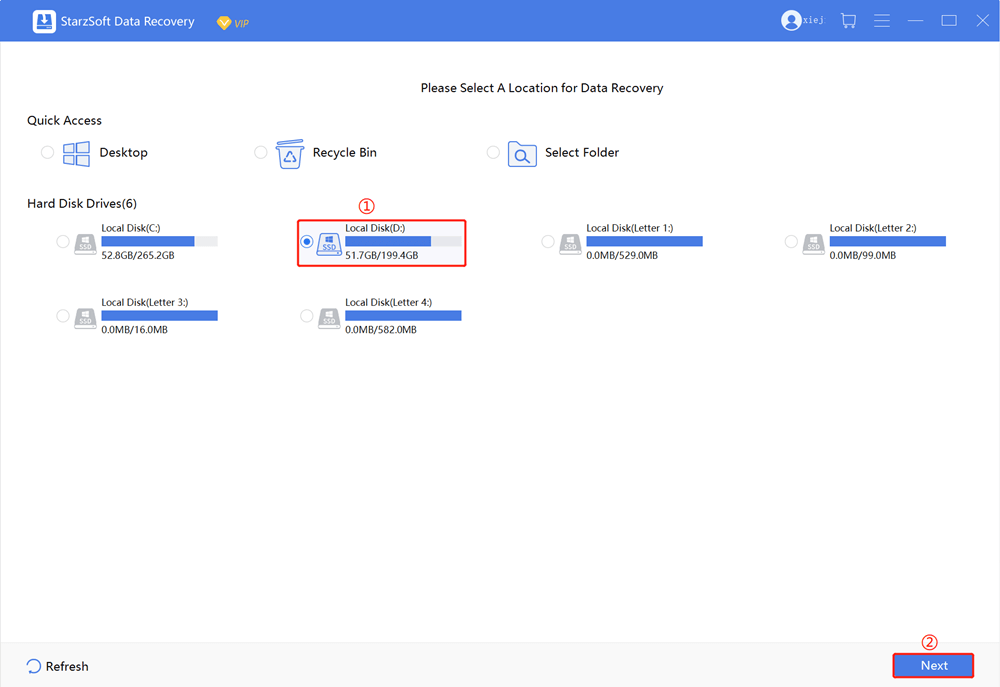
Step1. Select a Location
After successfully installing StarzSoft Data Recovery, launch it. From a list of hard disk drivers, select the local disk where you lost the data and click “next”.
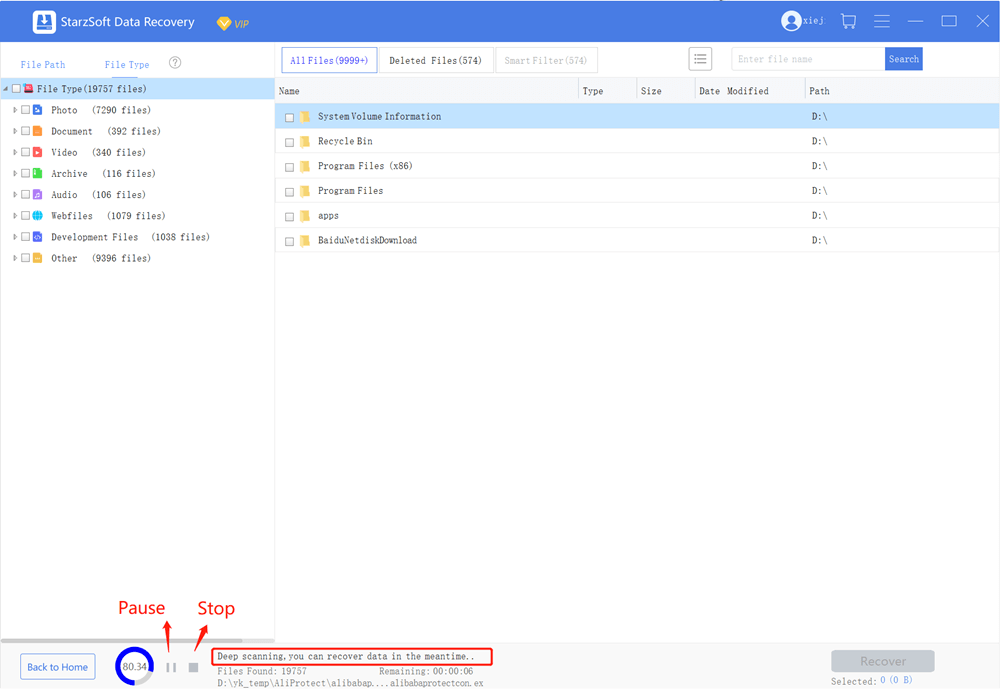
Step2. Scan the Data
StarzSoft Data Recovery performs deep and all-around scanning on the selected local disks, and you can pause or stop the scanning process at any time when you identified your files. It will let you know when the “scan completed”.
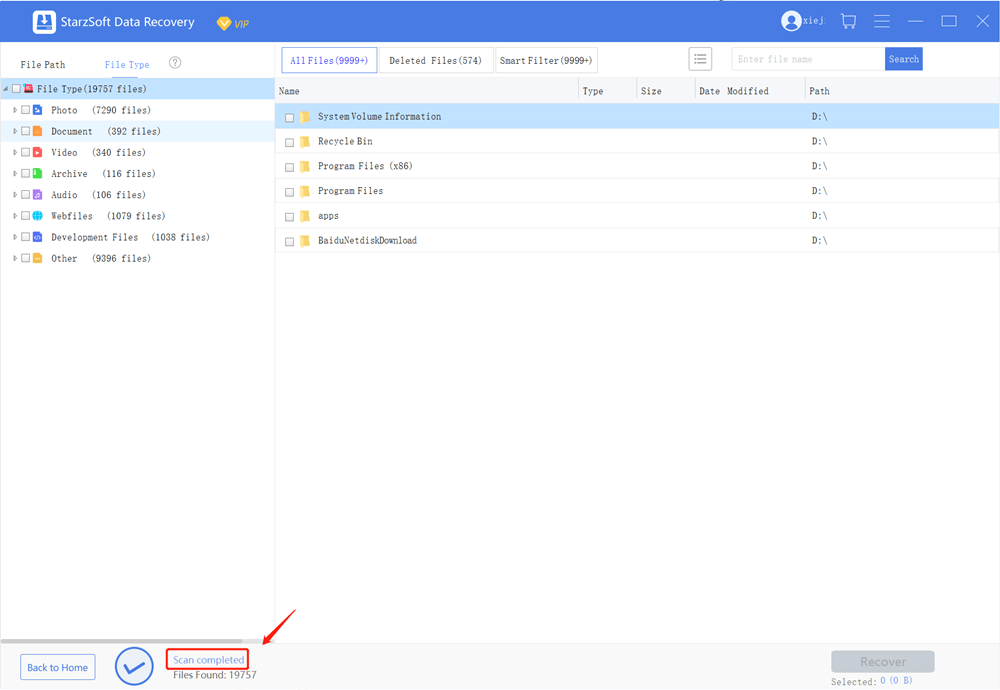
Step3. Filter the Data
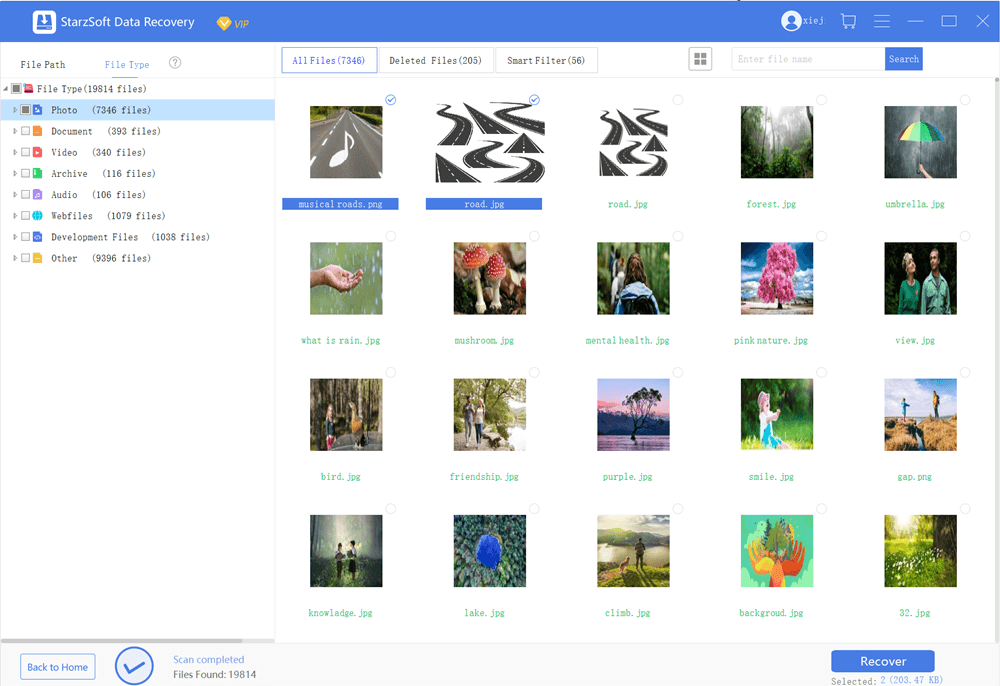
When scanning is completed, you can filter to find your lost files asap.
1. For “File Path”, it means the route on your computer when you store the data.
2. For “File Type”, it means from here, all the found data will be classified as different file formats like photo, document, video, archive,audio, etc.
3. You can click “Date Modified” to find the latest lost data.
4. If you know the file name, you can search it here to find your lost data more quickly.
Step4. Preview and Recover the Data
1. Preview the Files
Before recovery, double-click the single file to preview and recover it.
Note
2. Recover and Store the Files
When recovering your files, you need to select a path to save them. To avoid data damage, make sure to store files in a non-original partition.
You can select one/more than one files to be recovered at the same time, after successfully recovering, open the folder to find it.
4. Recover Data from External Devices (Not be Detected or Recognized)
StarzSoft Data Recovery supports recovering data from external devices lost due to accidentally deleting, formatting, etc. The external devices include USB drive, SD card, digital camera, memory card, and so on.
Let’s see how it performs with StarzSoft Data Recovery.
Step1. Connect the External Device to PC
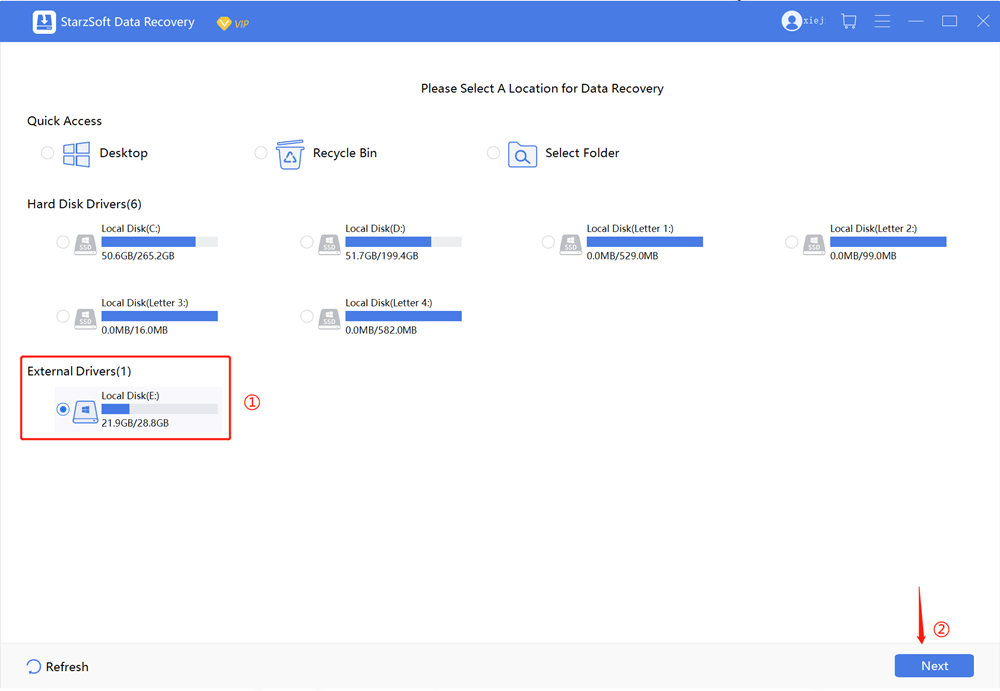
To begin, install and launch StarzSoft Data Recovery and get ready. Then connect your external hard drive to PC and make sure be well detected.
Step2. Select the External Device
After the hard drive is detected by the StarzSoft Data Recovery, select it and click “next” to begin the recovery process.
Step3. Start to Scan your External Hard Drive
From here, it will start a deep and all-around scanning on your external hard drive, you can pause or stop the process at any time.
Step4. Filter and Find your Lost Files
From here, there are clear ways to filter and help you find your lost data asap.
Step5. Preview and Recover the Data
Once the scanning process is finished, you can locate your files from the scanning results and preview them before making it recover.
Note
Once make sure found your lost file, click recover and store it in the right place just follow the pop-up notice.
Bonus: How to Fix If Your External Hard Drive Not Be Detected or Recognized?
1. Connect your external hard drive to another computer and test if it is the USB port problem, if it works on another pc, then you need to fix the USB port.
2. If it’s not the USB port problem, press “Win+R” > Type ” diskmgmt.msc”> Enter.
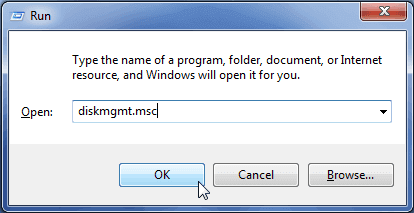
If you do see your hard drive at the Disk Management, you could continue to use StarzSoft Data Recovery and then format it properly. Then the PC can access it.
3. If you could not see your hard drive at the Disk Management, press “Win+R” > Type ” devmgmt.msc “> Enter to the Device Manager.

If there is a yellow exclamation mark next to the device under Disk drivers, right-click the device and select “Properties”, the error message shown will help you fix the problem.
Free DownloadSecure Download