Although extremely easy to read, PDF documents are quite tricky to deal with when you need to edit them. If, however, you have the best PDF editor for Mac, making changes to the PDF file shouldn’t be complicated. In this article, we will focus on showing you how to edit a PDF on Mac.
Solution 1: Edit PDF Documents on Mac Using Preview
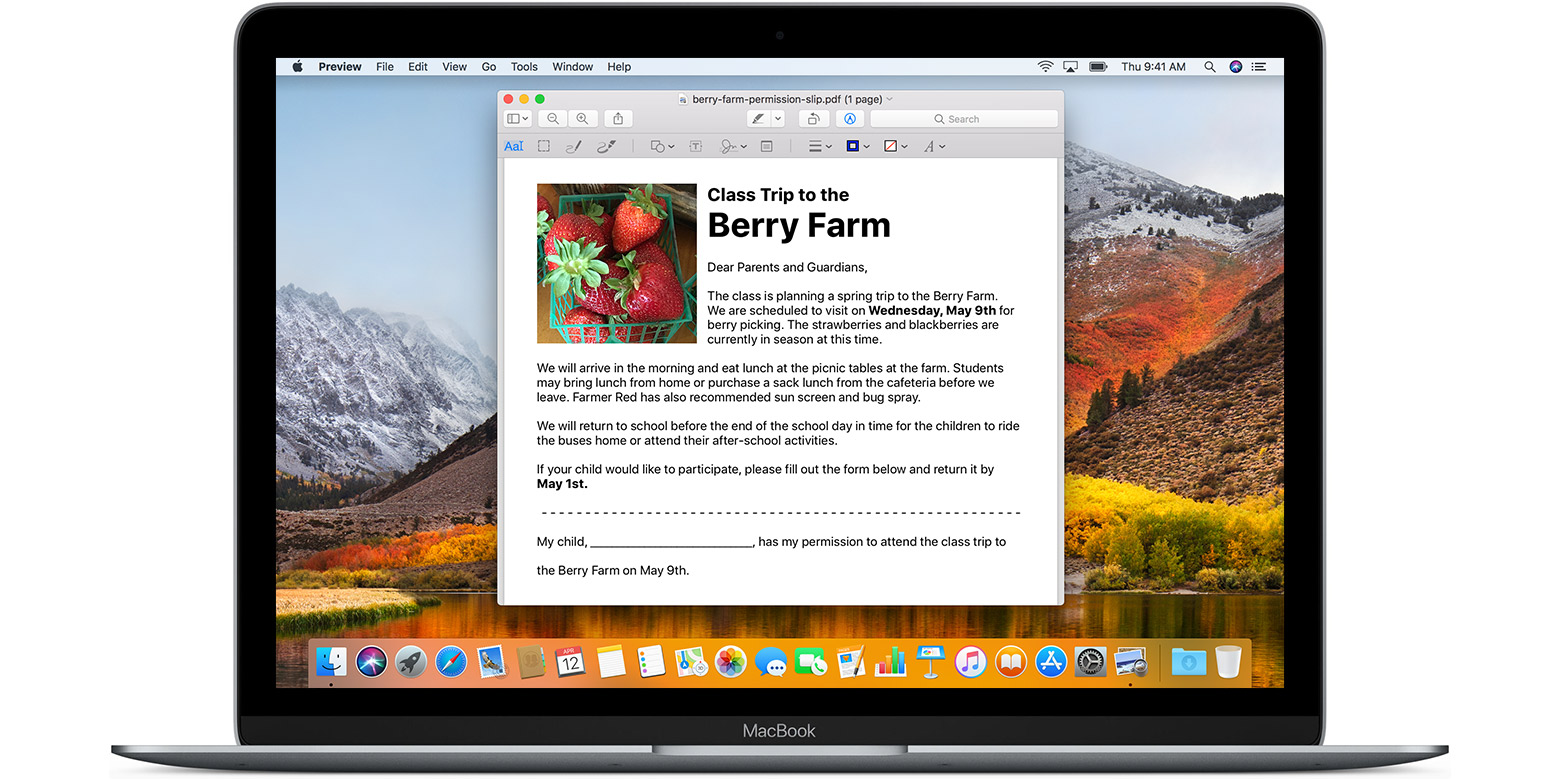
If you would like to use a free PDF editor for Mac, Preview will be your best option. The Preview tool is available by default on macOS. The tool is as extensive as other PDF editors with the exception that it is incapable of editing the pre-existing text.
Its main benefit is that it does not require plugins or add-ins to enable editing – you will just need to open the file and start editing right away.
To learn how to edit a PDF on Mac using the Preview tool, you will need to follow the steps outlined below:
Step 1: Open the PDF document with Preview.
Step 2: Click View on the menu bar and then select the “Show Annotations Toolbar” (or “Markup Toolbar” if you are running Yosemite macOS or later).
Step 3: The fourth button from the right of the toolbar will allow you to add text to the document. Once you click the button, you can start typing new content to the PDF document.
Step 4: Most of the other editing tools offered by Preview will be available under Tools. To be able to strike through text, underline text, insert a note, etc. you will need to visit Tools > Annotate.
Above, we have shown you how to add content to a PDF document. In some instances, you may not want to add content but to merge several PDF files. This can be achieved quite easily via the Preview application. The steps below should show you how:
Step 1: Open one PDF in the Preview application.
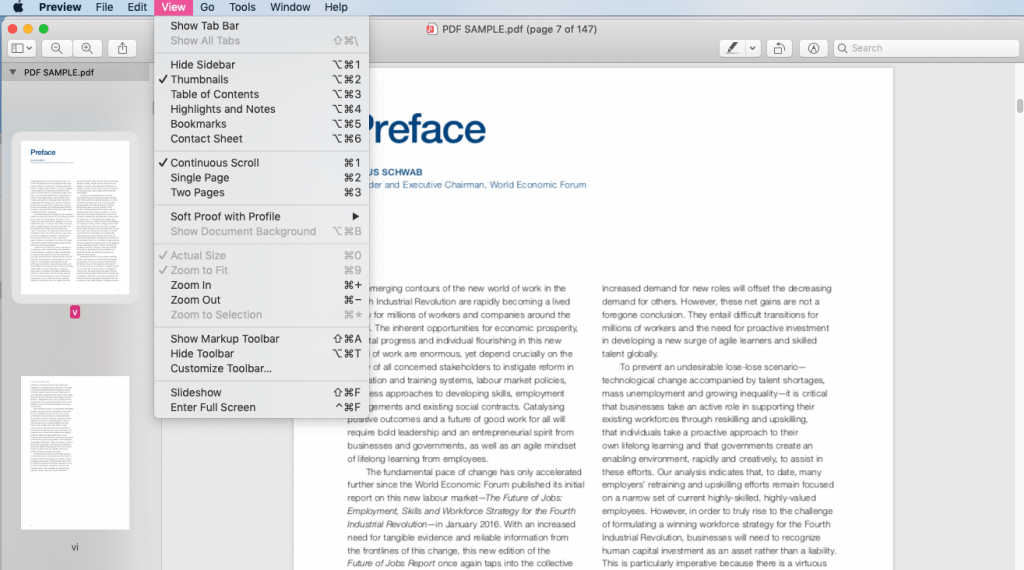
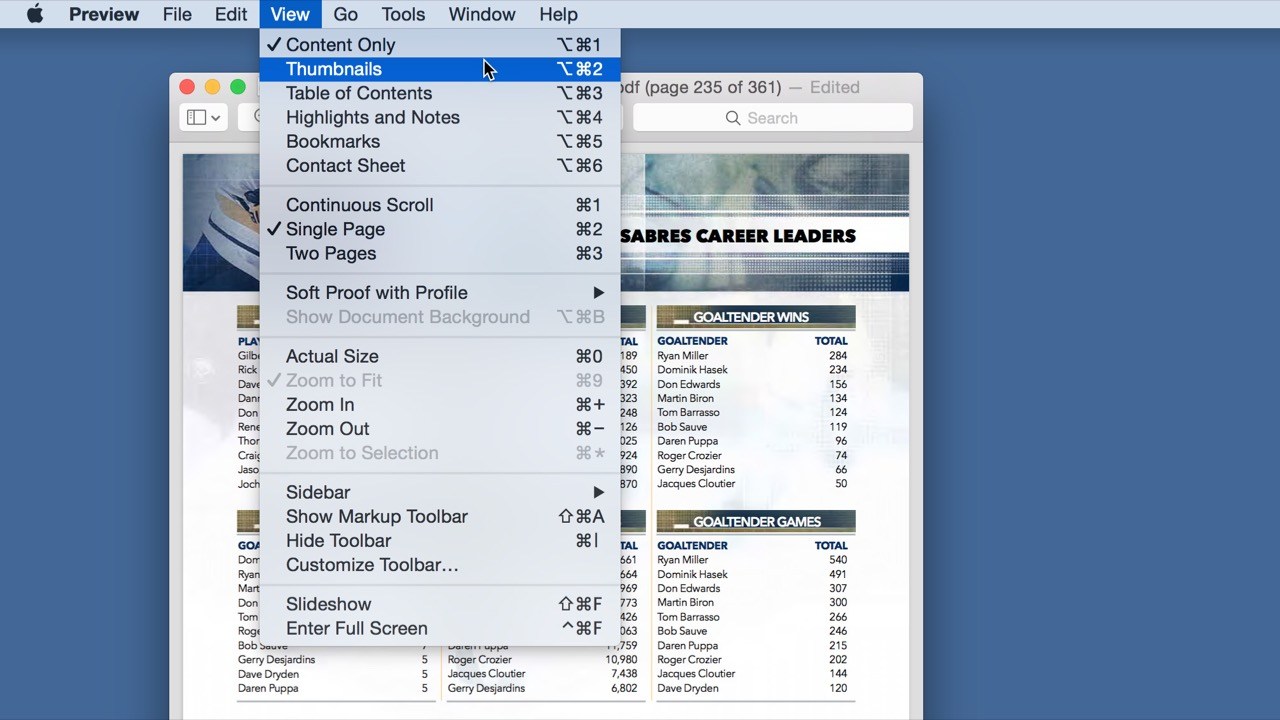
Step 2: Click View > Thumbnails. This will bring up the thumbnails for all the pages available on your PDF document.
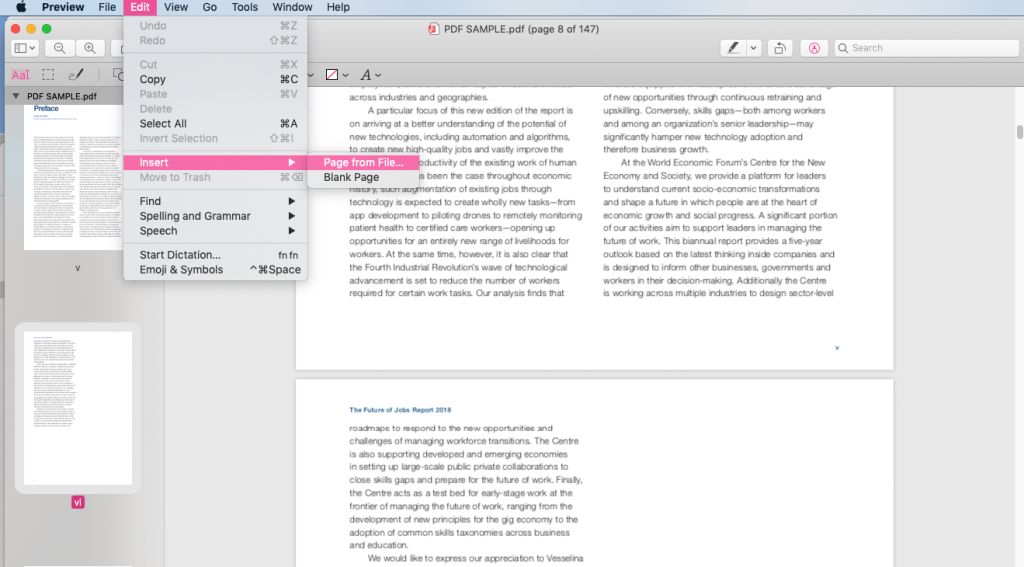
Step 3: Tap on Edit > Insert > Page from file and then open a different PDF document.
Step 4: Choose a destination for the updated PDF document and save it.
Sometimes, you may not like how the pages appear in your PDF document. With Preview, you can edit the pages and make them appear exactly as you want them. To do this, you will need the following steps:
Step 1: Open the PDF document in Preview.
Step 2: Navigate to View > Thumbnails.
Step 3: To rotate a page, select the page’s thumbnail > go to Tools > and then choose Rotate Right or Left.

Step 4: To delete the pages you have on your PDF document, select the Thumbnail for the page you would like to delete > choose Tools from the menu bar > select Delete.
Step 5: To rearrange the pages, simply drag the pages around in the sidebar.
If you would like to add a signature without having to print the PDF document, this can be achieved via the Preview. All you will have to do is follow the steps below:
Step 1: Open Preview and then go to the icon that looks more like a scribble. Choose Create Signature.
Step 2: A window should appear where you should be able to use the trackpad or the virtual notepad to create the signature. Using either a stylus or your finger, simply draw the signature and then tap any key once you are done.
Step 3: To actually add the Signature to a document, open the document > select the scribble icon > choose the signature you created in step 2 above. The signature should appear in a text box.
Step 4: Drag the signature to the right area, resize it if needed, and then click anywhere else on the document for the box to disappear, leaving behind the signature.
Solution 2: Use Quick Look to Edit PDF on Macbook Air/Pro
If you are using Mojave MacOS version, your computer may not need a third-party PDF editor for Mac – you can simply use the Quick Look. Quick Look is basically a great tool that allows you to open the preview of anything without the need to launch the software associated with the file.
To learn how to edit a PDF on Mac using the Quick Look, you will need to follow the steps outlined below:
Step 1: Locate the PDF document you would like to edit.
Step 2: Select the document and then hit the Spacebar.
Step 3: After pressing the Spacebar, a preview of the PDF document should appear on your screen. To the top-right of the preview, locate the pencil icon and click on it.
Step 4: The editing tools should appear on your screen. The tools will include a drawing tool, shapes, and in the third location, a tool that allows you to add text. Click on the third tool to start typing into the PDF document.
Step 5: Once you hit the text tool, you should see a box with the word Text inside. Move the box to your preferred position on the document and start typing what you would like to add to the PDF file.
Step 6: By default, the text may be red in color. To change the text appearance, choose the drop-down box beside the A and select different text sizes, colors, and font.
Step 7: Once you are done with editing the PDF document, hit the Done button to save your changes.
Solution 3: Using PDF Expert
This is a third-party application. Unlike solutions 1 and 2, to use solution 3, you will have to install PDF Expert on your computer. While the tool does have a free trial version, it is not entirely free. The limited features available on the free trial version will eventually force you to upgrade to the paid version.
The tool does have a wide range of PDF editing features. Whether you want to fix a typo or simply add a couple of zeros to your invoice, you can use PDF Expert. To learn how to edit a PDF on Mac using PDF Expert, you will need to follow the steps below:
Step 1: Download PDF Expert on your computer (you can get it here: pdfexpert.com).
Step 2: After installing the tool, open the PDF document you would like to edit in the application. To do this, select the PDF document > right-click on it > Choose Open with > select PDF Expert.
Step 3: Once the document opens in the PDF Expert, tap Edit on the toolbar and then select Text item.
Step 4: Select a fragment of the text you would like to edit.
Step 5: Make changes to the text and then click on the blank space to implement the changes.
Solution 4: Use PDFpen
This is another third-party tool that you can use to make changes to your PDF document. The PDF editor for Mac features an intuitive toolset that makes the editing much easier. The tool will let you set up the PDF document with watermarks, line numbers, footers, headers, bookmarks, and page numbers.
You can also add signatures, edit existing content, add new content and add images to the document. With the tool, you can easily copy and paste rich content into the PDF document while retaining the formatting.
How to Correct Text Using PDFpen
Step 1: Download and install PDFpen on your Mac computer (you can download the tool here: https://setapp.com/apps/pdfpen).
Step 2: Open the desired document in the application.
Step 3: Highlight the text you would like to correct in the PDF document and then click the Correct Text option.
Step 4: Erase the current text and then type the new desired content.
How to Insert and Edit an Image Using PDFpen
Step 1: After launching the PDF document in PDFpen, choose the Insert icon and then select the image you would like to add to the document.
Step 2: Move and/or resize your chosen image by dragging it around inside the PDF document.
Step 3: To add some effects or to adjust an image, you will simply need to double click it.
Summary
Although editing a PDF document may not be as easy as editing a Microsoft Word document, it is still doable. This article shows you free and paid tools you can use to edit the PDF document on Macbook.
The tools you will find on your macOS by default will not have the ability to edit pre-existing content – they are more effective when it comes to filling forms. If your goal is to change the pre-existing content, you may want to invest in a paid third-party tool.
Most of the paid tools do have a free trial version which lets you ensure that they do work before you can go ahead and pay for them. But if you want to edit PDF on Windows computers, all you need is this free PDF converter LEOPDF.