The Recovery partition is among the nicest elements of recent macOS releases. You can use this to troubleshoot problems as they arise because it contains the most recent version of macOS that you have installed.
Every Mac user eventually needs to deal with the backup and recovery mechanism on macOS, whether to fix a fatal Mac error or install the most recent version of macOS from the App Store. From there, you can open Terminal, launch Disk Utilities First Aid, or reinstall macOS on the primary partition.
Recovery mode won’t function if you can’t connect to an Apple server, which is a need for using it. From this error message, it is clear that your Mac was unable to connect to the Apple server. What can you do to solve the issue and complete the procedure, and more importantly, why does it occur? Well, this article was written just to answer that question. Read on!
Why is “the Recovery Server Could Not Be Contacted”?
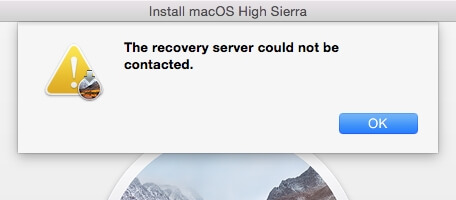
Your Mac will attempt to connect to Apple’s recovery server to download either updates to the macOS version on your Recovery partition or the installer for macOS when you boot it into recovery mode or try to utilize recovery over the internet. The error message “The recovery server could not be connected” will appear if your Mac is unable to connect to the server.
6 Methods To Fix The Recovery Server Could Not Be Contacted
Method 1. Check Internet
Always begin with the most obvious and straightforwardly fixable scenario. Check to see if your Wi-Fi and broadband connections are active and if your Mac is still connected to the internet. You can re-plug the Ethernet cable to test if your Mac uses a wired internet connection.
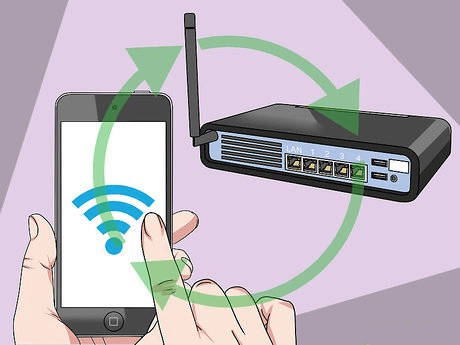
If your Mac has Wi-Fi enabled, you can check that it is linked to a reliable Wi-Fi network by selecting the Wi-Fi option in the top right corner of your screen. You can access the Apple recovery server more quickly the faster your internet connection is.
Method 2. Check Apple’s Servers
Apple keeps track of any issues with its online services on a status page. Therefore, despite the absence of a recovery server item, issues with other services may point to a recovery server issue.
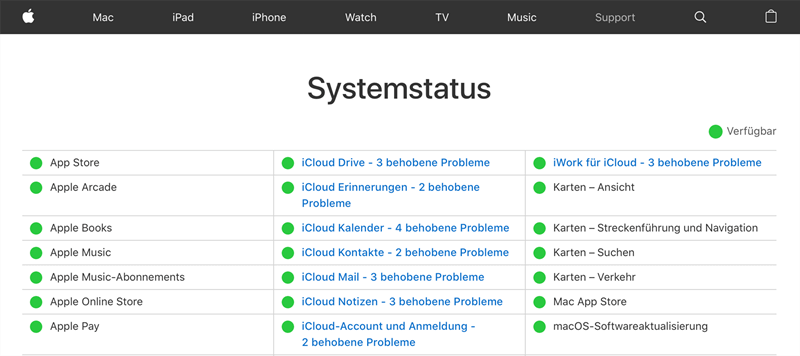
The sole course of action in that situation is to wait for Apple’s servers to start operating normally once more. Here, you can check the status of Apple’s servers.
Method 3. Check The Time and Date
The time and date on your Mac may not match those on the server, which is one of the most common causes of the error message.
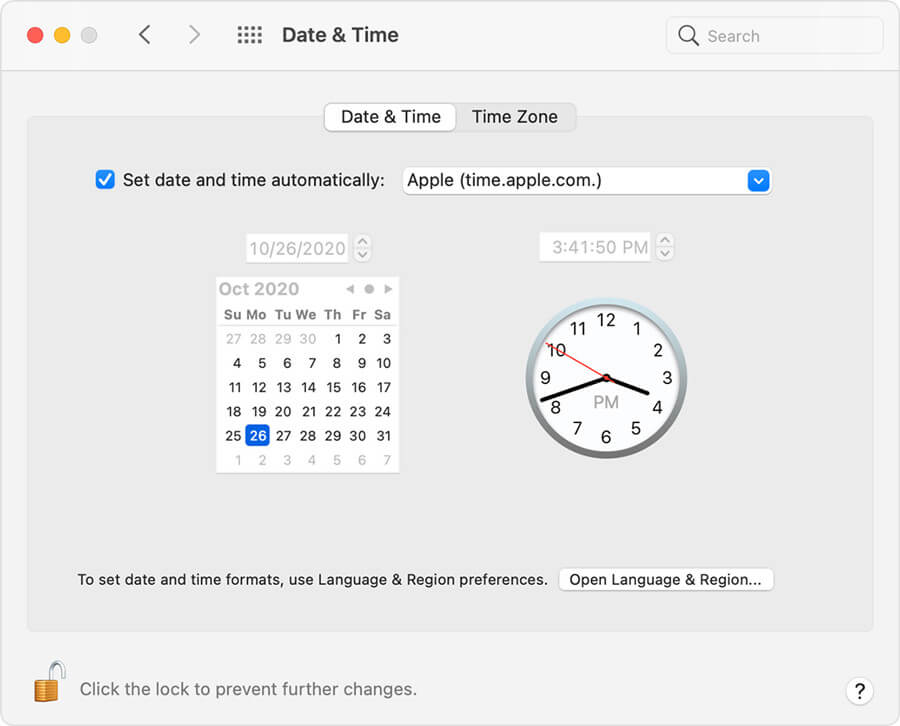
Resetting your Mac’s time and date to match the time on the Apple servers will solve the problem. Unfortunately, you can’t simply navigate to System Preferences while in Recovery mode; instead, you must go to Terminal.
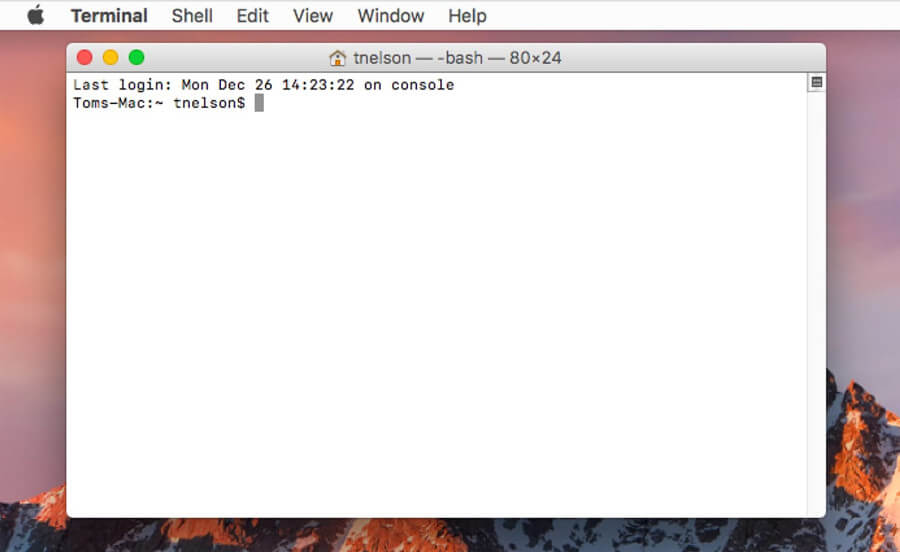
1. From the menu bar, select Utilities when in recovery mode.
2. Select Terminal.

3. Type sudo ntpdate -u<a href=”http://time.apple.com”> </a> time.apple.com if you’re using a macOS version that is earlier than Mojave:
4. Use this command in its place if you’re using Mojave or a later version: sntp-sS with sudo time.apple.com
5. Click Return.
Reconnect to the recovery server once you’ve changed the time and date.
You can try this command if the “ntpdate -u time.apple.com” command-line did not succeed in resolving the recovery server could not be contacted issue on your Mac.
1. Start up Terminal.
2. Type the date. The Enter key, then. This will display your Mac’s date.
3. Use the command line date mmddhhssyy to enter the current time if the date and time are incorrect. For instance, you should enter the date 0720090020 if the date is July 20, 09:00 am 2020. (July 20, 09:00 am, 2020).
4. After closing the Terminal, launch the Catalina/Mojave installer by selecting Reinstall macOS.
Method 4. Update Mac System
To do this, follow the steps below:
Step 1: Launch the App Store and select the “Updates” tab to find application updates on your Mac.
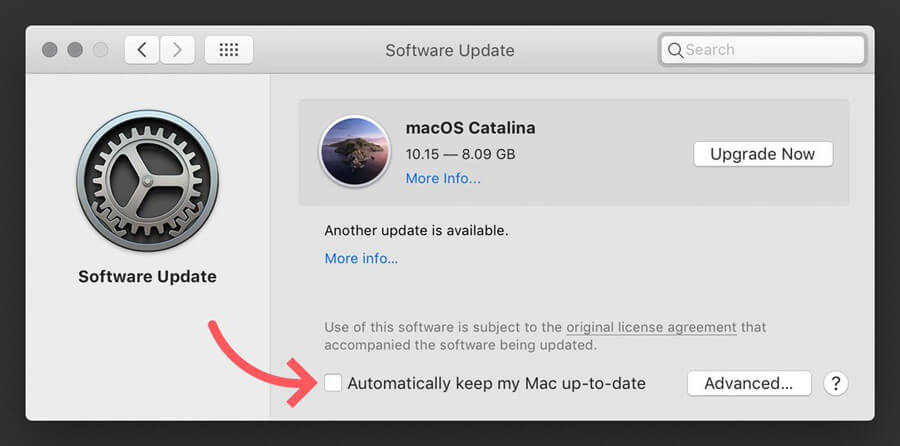
Step 2: Choose “Automatically keep my Mac up to date” to later install macOS updates, including the downloaded programs. You can choose when to update the applications by using this option, which will let you know when updates call for a restart.
Method 5. Install The Full Version of The Mojave / Catalina Installer
The error message “the recovery server could not be connected” has been reported by certain customers while trying to install a macOS update using the Apple update installer.
However, according to IT experts, this is not the whole version of macOS. You can quickly resolve the “the recovery server could not be contacted” problem by installing the full version of macOS. You must execute several commands in the Terminal window in order to install macOS Catalina or Mojave in its entirety.
1. Choose “Terminal” from the “Utilities” menu item by tapping the top menu bar.
2. Enter this command into the Terminal window: softwareupdate –fetch-full-installer –full-installer-version 10.15.3
If you are using the 10.15.4 version, adjust the command above. Mac will now download the installer file in its entirety. The file is located in the Applications folder.
3. Run the installer file located in the Application’s folder to launch macOS Catalina/Mojave in its entirety.
Method 6. Erase The Mac Disk And Reinstall MacOS System
In the event that you tried all the techniques mentioned above but were unsuccessful. You can then erase your hard drive and reinstall macOS as a final option.
To wipe the hard drive, go into recovery mode. After that, you can fix your issue by reinstalling macOS. delete your hard drive as directed, then install macOS again following the steps below:
1. Verify that a safe copy of the data has been made as a backup.
2. Start your Mac again. While the Mac is starting up, hold down the Command and R keys simultaneously to enter Recovery Mode.
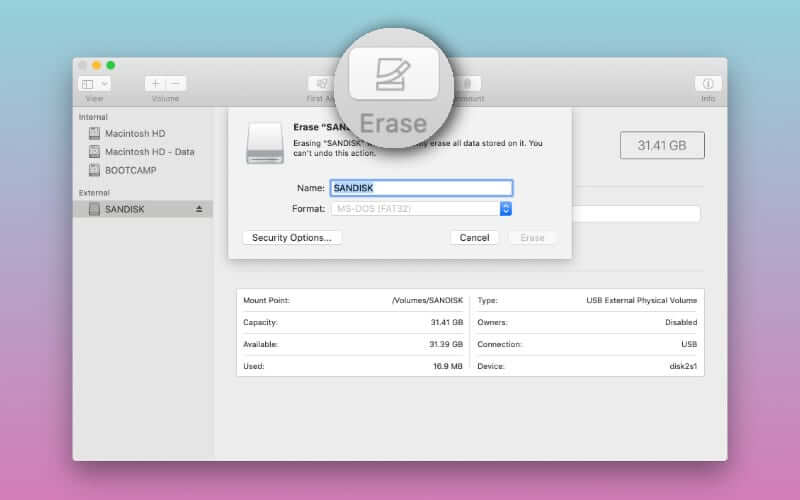
3. From the Recovery Mode menu, choose Disk Utility, then delete the Mac HD volume. All of your data on the Mac will be deleted as a result. Make sure you have backed up the important data.
4. After wiping your drive, reinstall macOS, and the problem will be fixed.
How to Recover Lost Data After Mac Update — StarzSoft Data Recovery [HOT!]
All the files and folders on the Mac startup drive will be immediately deleted if you erase them. The user may occasionally encounter difficult data loss circumstances even after taking safeguards.
Without a recent Time Machine backup, you may have lost important data as a result of the macOS upgrade. StarzSoft Data Recovery can assist you in getting the data back.

It is a comprehensive solution for many data loss scenarios, including formatting, wiping, partition loss, disk damage, virus attacks, and more. You may recover deleted files from almost any type of storage media with the StarzSoft Data Recovery program for macOS, and it supports over a thousand different file types.
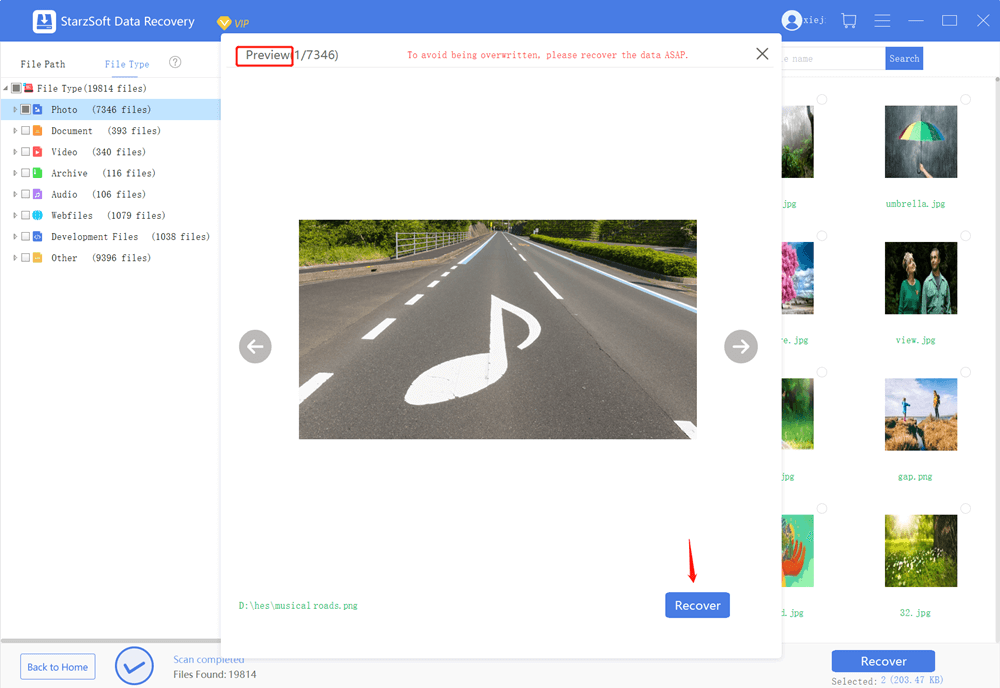
Before final recovery, you can also preview any recoverable hard disk data. And it accomplishes all of this in only 3 easy steps:
Install: Set up the StarzSoft Data Recovery program and decide where you want to save the recovered data.
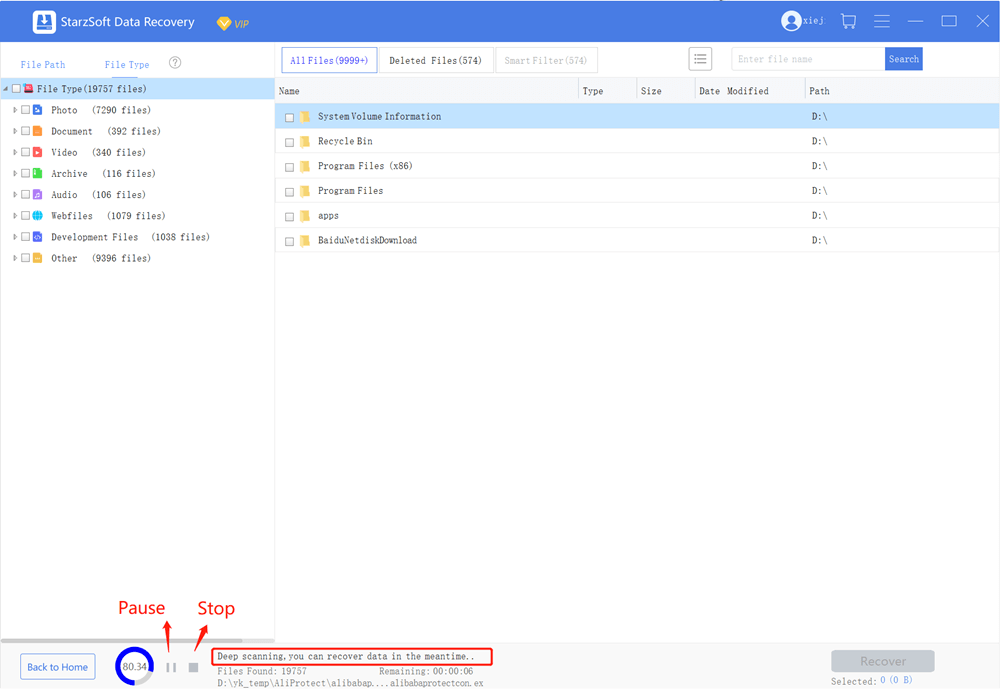
Scan: The Application will start a comprehensive and all-inclusive scan of the selected area.
Recover: Double-click a file to preview it, then choose Recover and save the file in a secure location.
Conclusion
There are 7 methods to help you solve the problem “The Recovery Server Could Not Be Contacted”, as the data of the device is so important that we do not want to lose it, here we recommend using the StarzSoft data recovery tool, which will be helpful to prevent losing data accidentally.
Free DownloadSecure Download