Error 3201 is an issue that can prevent iTunes from updating iOS devices. Moreover, this error message can also pop up on your screen to tell you about the failure of iTunes to download purchased content.
Finding the reasons for this error might take some time, and it is something you’d be concerned with. Everyone wants to fix the “error 3201” issue to ensure the smooth functioning of iTunes. Luckily, you can find your answers in this guide as you’ll only need to keep reading it.
Part 1: What Does Error 3201 iTunes Mean
Error 3201 is a thing that stops iTunes from updating or restoring iPhone devices. It might occur due to low storage of your Mac or your internet connection getting weak. Here are some of the most reasons behind this issue.
- Kernel Panic issues
- Installed application issue
- Full usage of hard disk or startup disk
- Issues of preferences files
Part 2: The Most Possible Solution for the Error 3201 iTunes
Check and Free Up Space
If your PC runs out of memory, you might face the “error 3201 iTunes” issue. Hence, you’ll need to free up some space when you tend to face the issue with your iTunes. If iTunes doesn’t find enough space on your PC, it won’t be able to update new files.
After freeing up some space, you’ll need to launch iTunes again and see the issue you were facing has been solved or not.
Part 3: How to Fix iTunes Error 3201 with Common Solutions
1. Check Your Internet Connection
A weak internet connection might also cause “iTunes error 3201” on your Mac. Hence, you’ll need to check your Wi-Fi connection and try to restart the router.
After restarting the router, you’ll need to ensure the internet speed is found, as slow internet won’t allow you to update your iPhone via iTunes. Moreover, if you’re using a cellular network, you’ll also need to check the current speed of your ongoing network.
2. Update macOS and iTunes
If you don’t find any issue with your network but still have the same issue, you should try updating iTunes and macOS. This process might help you avoid the scare you’ve been struggling with. Here’s how to do it.
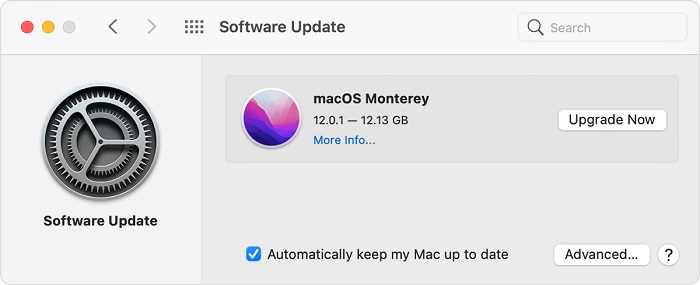
Update macOS
- 1. Navigate to System Preferences and then hit System Update.
- 2. You’ll need to update the macOS if the new update is available.
Update iTunes
After launching App Store, you’ll need to search for iTunes. Next up, you’ll need to hit the update icon if it permits you to install new updates.
3. Check Your Security Settings
Third-party security tools like Anti-virus might prevent iTunes from functioning properly on your Mac PC. Hence, you’ll need to disable Anti-virus to ensure that you won’t face any issues with iTunes. However, you should enable the Anti-virus when you tend to solve the issue you’ve been facing.
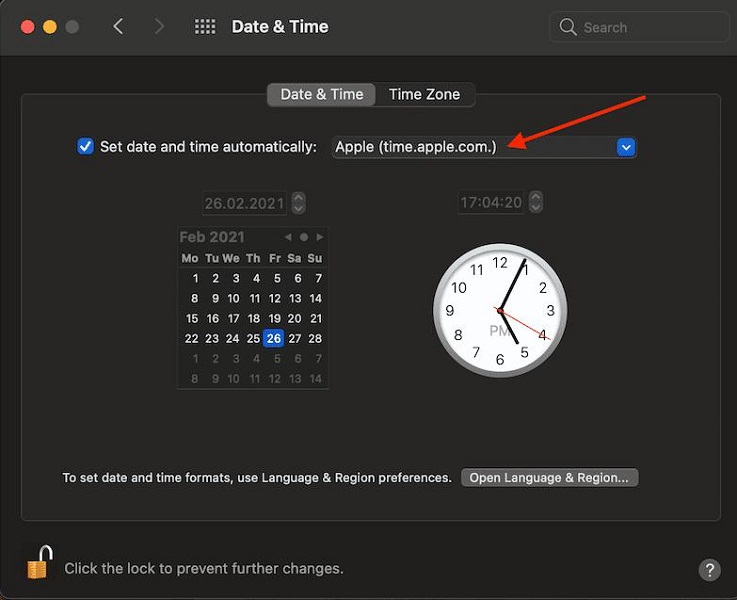
Moreover, you’ll need to ensure that your time, date, and time settings are accurate, as Apple won’t allow you to connect to iTunes if your data and time are faulty.
4. Relocate Your Music Library
If you’ve located your iTunes library on a NAS HDD, it might be the reason behind the “error 3201 iTunes” issue. Hence, you’ll need to relocate the library on your iMac or Mac. You may alter target multi-media files from NAS to the local folder.
It has been noted that doing so works for many NAS users, and we’re hopeful that this process will help you solve the issue you’re facing.
5. Check the Server Status of Apple
Before taking any extreme step to fix the “error 3201 iTunes” issue, you need to check Apple iTunes’s server status.
Sometimes, the server status of iTunes tends to be facing temporary outrage that, as a result, might cause some issues for iTunes.
6. Reset Internet Protocol (TCP/IP)
If nothing works for you, try resetting the internet protocol (TCP/IP. This thing might help your Mac PC to tackle the problem it has been facing. Here’s how to do it.
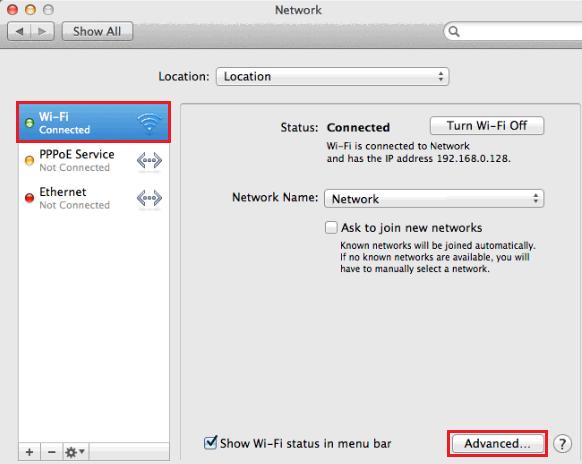
- 1. After tapping the Apple icon, you’ll need to select “System Preferences”. Next up, you’ll need to choose a network.
- 2. Hit the “Advanced” icon after selecting the connected internet connection (Wi-Fi or Ethernet).
- 3. Hit Renew DHCP Lease after selecting the TCP/IP tab. You can finish the task by hitting “OK”.
Part 4: How to Fix iTunes Error -3201 with Starsoft Fixcon (No Data Loss)
You don’t need to rely on iTunes to restore your iPhone, as you’ve got StarzSoft Fixcon to repair your iPhone with minimal effort. Using this spectacular tool, you’ve got the profound leverage to fix about 150 iOS issues with ease. On top of that, it won’t cause any data loss as the Standard Repair method can repair your device without deleting the important data on your iPhone.
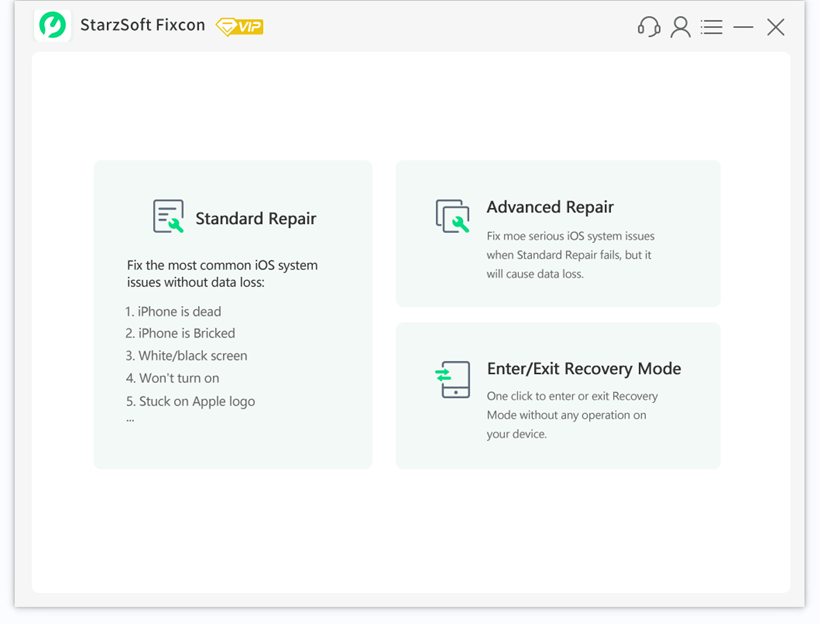
- 1. Before navigating to the business end, you’ll need to visit the Starzsoft Fixcon official website and install the third-party tool. Next up, you’ll only need to launch the software and connect the iOS device to Mac or PC.
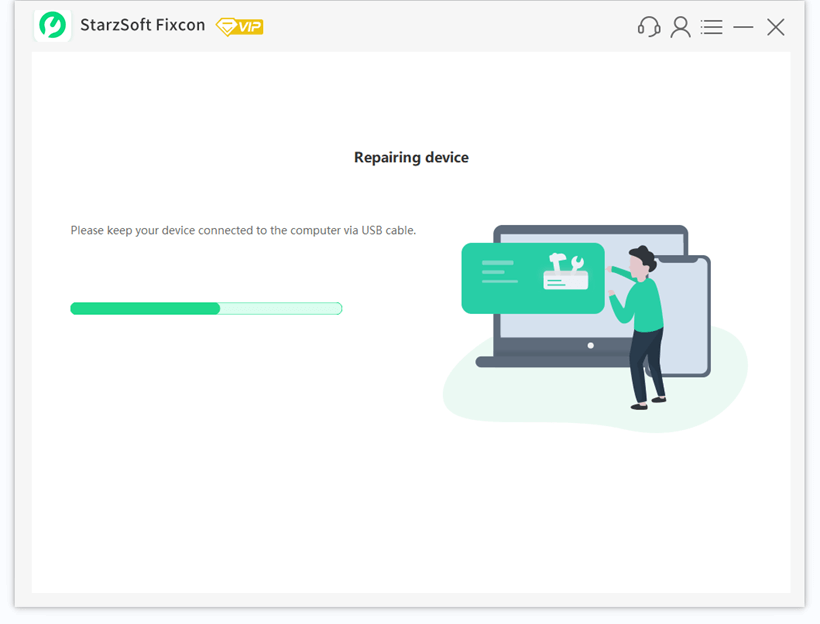
- 2. Your job is fairly simple in this phase as you’ll only need to tap “Standard Repair”.
- 3. You’ll need to look for an appropriate firmware package and grab it after hitting the “Download” button.
- 4. You’ll only need to select the “Continue” button to start restoring your device in the final phase.
Also Read
Part 5: How to Fix Error 3201 on Mac
1. Clean Associated Preferences Files
Preference is a file that stores the parameters or rules that help the application know how to work on this device. Overloaded or corrupted preferences files can create many issues, and facing the ”error 3201 iTunes” issue is one of them.
Hence, it would help if you tried cleaning associated preferences files and then started the related program again to see how it goes. Here’s how to do it.
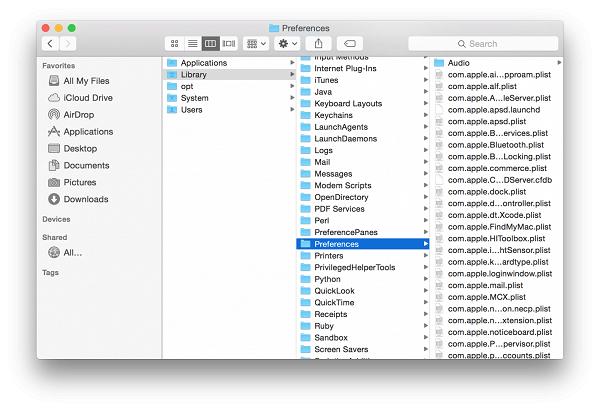
- 1. Navigate to ”GO to Folder” after talking ”GO”. Next up, you’ll need to hit Return Key after typing “/Library/.”
- 2. After launching the Preferences folder, you’ll need to locate the problematic app’s preferences and then hit Trash to remove them.
- 3. Now, you can restart iTunes again and see the outcome of clearing preferences.
2. Clean Junk Files on the Hard Disk
If you’re using the internet on Mac, it might create many junk files. The presence of junk files might also be the key factor behind your issue with iTunes. Hence, you’ll need to clear the junk files regularly to ensure you don’t face any issues on your Mac.
Conclusion
You’ll find this article fairly useful as we were keen to introduce you to the best method to the “error 3201 iTunes” issue. Every method we’ve highlighted here in this discussion makes a lot of sense and can help you fix the issue.
However, if you can’t restore your iPhone via iTunes due to some issue, you might go for StarzSoft Fixcon. It is a brilliant third-party tool that enables you to fix any iOS issue with ease.