We all know the importance of the SOS feature as it helps you reach out to emergency contacts and services on your iOS device in emergencies.
However, if you unintentionally dialed the SOS number, the Police or an ambulance could reach out to you, making you embarrassed. Thus, if you intend to turn off the SOS feature on your iPhone, this post reveals the simple ways to help you know how to turn off SOS on iPhone.
Part 1: What is SOS on iPhone?
Before helping you to know how to turn SOS off on iPhone, let’s talk about the credentials of SOS. When you see the SOS icon on the status bar, it implies that you no longer have a WiFi or cellular connection on the iPhone.
Only using your device’s SOS emergency service number will be possible now. But, if you’re an iPhone 13 or earlier user, the SOS status moves out to no service preventing you from calling even an emergency number. Some iOS devices offer the “Autocall” feature, which will dial the emergency services automatically without asking you to push the Emergency SOS slider.
Part 2: How to Turn Off SOS on iPhone
Way 1: Use Settings
If you don’t want to keep the SOS feature enabled on the iPhone, you can deactivate it by visiting Settings. Here’s a step-by-step guide to help you know how to turn off SOS on iPhone through Settings.
- 1. Open the iPhone settings, and save time before clicking on the General tab.
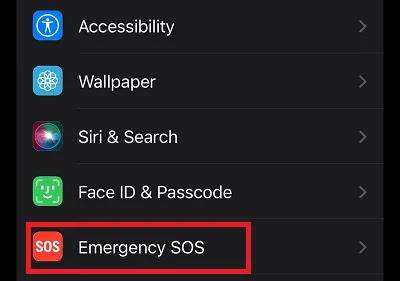
- 2. Search for the Emergency SOS icon and tap on it.
- 3. You must disable the Auto Call and Call with Side button options.

Way 2: Use the Control Center
If you aren’t interested in visiting the iPhone settings to turn off the SOS feature on an iOS device, you can rely on the Control Center. Follow the step-by-step guide below to know how to turn off SOS on your iPhone through the Control Center.
- 1. Launch the Control Center after swiping from the screen’s top right corner.
- 2. Press and hold your Emergency SOS button; you will see the Emergency Slider there.
- 3. You can turn off the Emergency SOS slider by sliding it to the left side.
Way 3: Use SIRI
Turning off the SOS feature on the iOS device is also possible courtesy of Siri. Here’s the step-by-step guide below to help you learn how to turn off SOS on iPhone 13/14 via Siri.
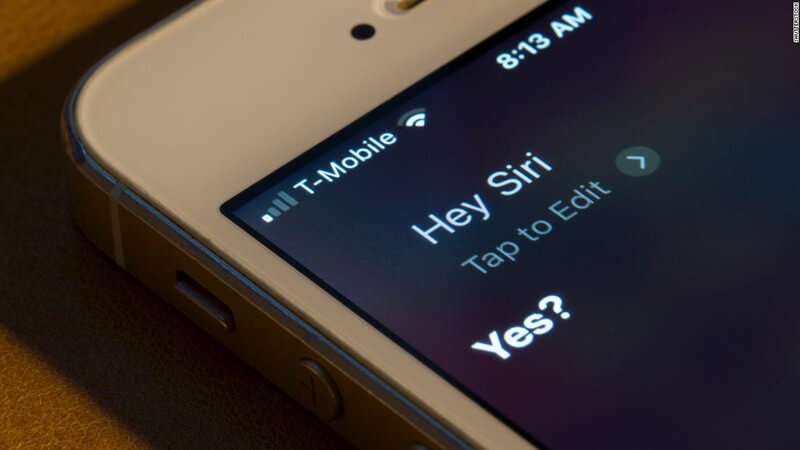
- 1. Press and hold the iPhone’s side button to activate Siri on the iOS device. You can also order things by saying “Hey, Siri.”
- 2. In this phase, you must say “Turn off Emergency SOS.” Siri will take no time before turning off the SOS emergency feature on your iOS device. You need to remember that after turning off this function, you won’t be able to use it in emergencies.

Part 3: What If iPhone 14 Stuck in SOS Mode
Many iOS device users have complained about facing the “iPhone stuck in SOS mode” issue. Luckily, you don’t need to worry about this issue when it occurs, as you can look at the wonderful ways to tackle it below.
Way 1: Use Starzsoft Fixcon to Repair Any iOS System Issues
Regardless of which software issue you encounter with your iOS device, Starzsoft Fixcon doesn’t take any time to fix that issue. It is monumental third-party software with unbelievably good features when fixing 150+ iOS device issues. On top of that, the standard repair mode of StarzSoft Fixcon implies that you won’t lose any data while restoring the iPhone.
The interface of Starzsoft Fixcon is truly remarkable, and Fixcon also holds the credentials to tackle major software bugs courtesy of Deep Repair. Although Deep repair mode will prompt data loss, it is worth trying when an iOS device doesn’t respond while using the Standard Repair Mode.
- 1. Enter the official website of Starzsoft Fixcon and get the latest version of Fixcon installed on your computer. After starting the program, you only need to connect the iPhone to the computer through a USB lightning cable.
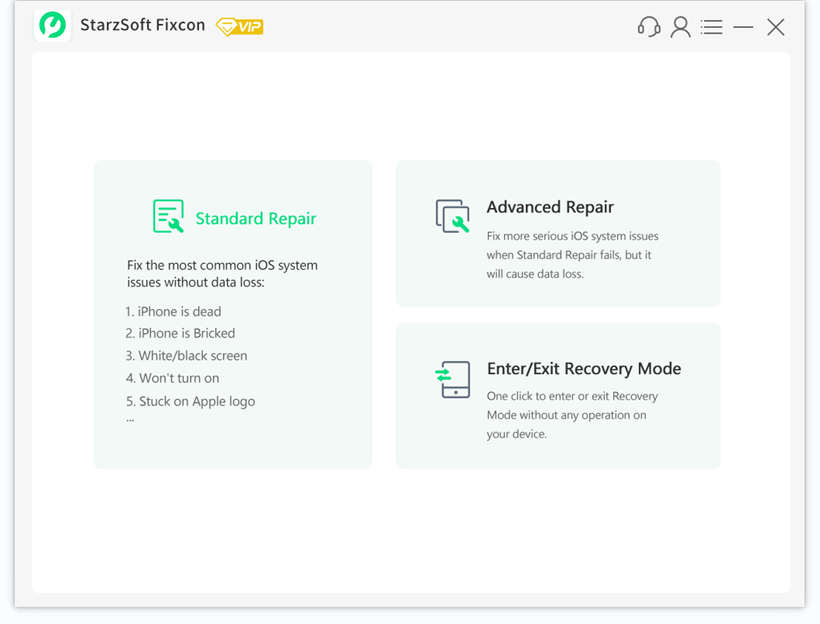
- 2. Now, you can visit the main interface of Starzsoft Fixcon and choose the Standard Repair Mode, as it won’t prompt data loss. However, if you don’t lose the data, clicking on the Deep Repair Mode is also an option. But, Deep repair mode isn’t recommended as you can fix most iOS device issues through Standard Repair Mode.

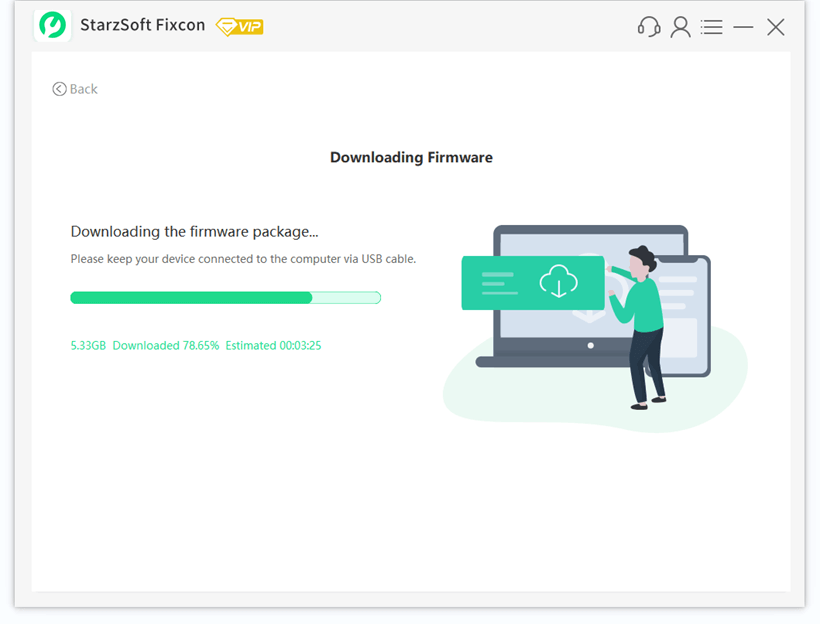
- 3. Ensure that the series of information you’re getting regarding the iOS device on your screen is related to the iPhone. After confirming it, you can get the firmware package by pushing the Download button.

- 4. Now, you’re all set to repair the iOS device, and you can initiate this process by hitting the Continue icon. The process asks you to be patient, as it can take a few moments before making the iPhone get ready to start again.
4 Common Tips to Fix iPhone Stuck SOS Mode Issue
Although the success percentage is low, you can follow the following tips to fix the iPhone stuck in the SOS mode issue.
1. Turn on Mode before turning it off again
According to most iPhone users, turning on the Airplane mode has reportedly helped them to fix most iOS device issues. If your iOS device got stuck in the SOS mode, turning on Airplane mode and then turning it off again might be helpful for you.
2. Turn your Cellular Data off and On
Another way to fix the issue you’re currently facing is to turn off the Cellular Data for free moments and turn it on again to see how things go afterward.
3. Restart iPhone
Restarting the iPhone device could be useful to eliminate any software bugs. Thus, when your iPhone gets stuck in SOS mode, you can restart the iPhone to dismantle the issue you’ve been dealing with.
4. Reset Network Settings
Although resetting the Network setting will eliminate all the network settings, it could fix multiple software bugs. Hence, you can try this way when the “iPhone is stuck with an SOS” issue doesn’t go away.
Conclusion
If you’re fed up with the SOS feature and would love to know how to turn off SOS on your iPhone, this post will be great for you.
Apart from helping you to turn off the SOS feature through Settings, and Control Center, we’ve also listed the simple steps to the same via Siri.
You can also take notes from this post if you’re tackling the “iPhone 14 stuck in SOS mode” issue, as we have mentioned fantastic ways to fix the issue. StarzSoft Fixcon is the most recommended tool, irrespective of your issue, as it allows you to fix 150+ iOS issues.
