For any aspiring streamer (whether you’re on Twitch, YouTube, or Facebook), learning how to use green screen in OBS is an essential skill to have.
Using a green screen can take your streams to a professional level as well as let you get away with having a messy room.
But not everyone knows how to set up a green screen after they’ve bought one.
Thankfully they aren’t too expensive, but if you haven’t had one before then setting it up can prove to be difficult.
Don’t worry though – you won’t have to buy any extra software and we’ll be explaining exactly what needs to be done.
Part 1. Setting Up OBS Green Screen with Chroma Key
Built into OBS is a handy green screen feature called the Chroma Key Filter. With this, we can choose the colour that we want to exclude from the webcam feed and effectively set up the green screen.
Starting from the very beginning, here’s what you need to do:
Step 1 – Download the latest version of OBS from their website, install it, then set up the basics. If you already have OBS installed, click Help > Check for Updates to ensure that you are using the most up-to-date version.
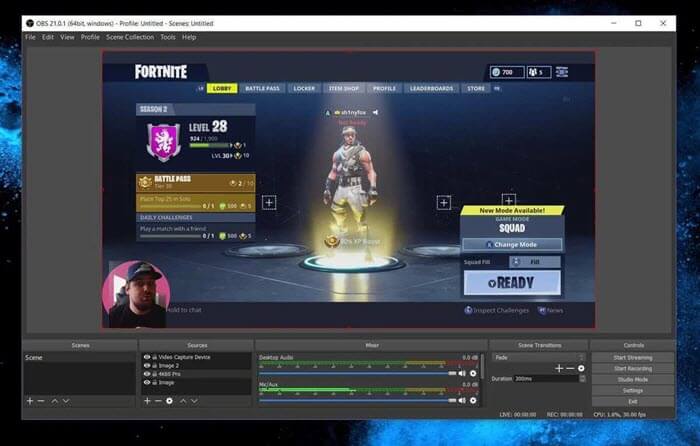
Step 2 – Launch OBS and at the bottom-left, under Scenes, create a new scene.
Step 3 – Under Sources, add a new source and choose Video Capture Device. Select your webcam from the list of detected devices.
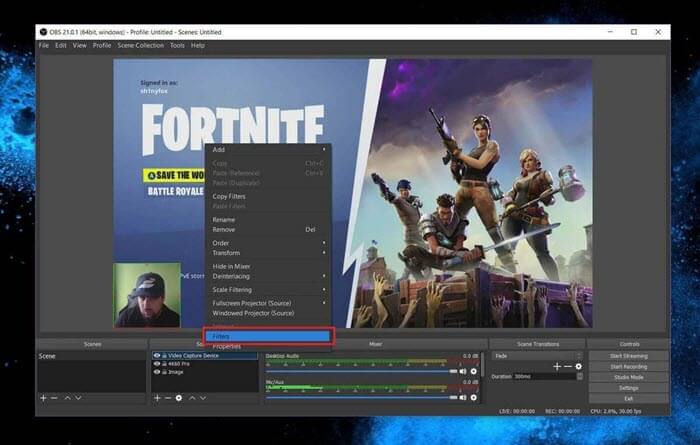
Step 4 – Now that your webcam has been added (you should see the live feed in the Preview window), click on the webcam from the Sources list and click Filters.
Step 5 – Under the Effects Filters header, click + and choose the Chroma Key filter.
Step 6 – The filter for the menu will appear where you can now tweak the settings to get the best results. By default, the Key Color Type is set to Green but you can also select Custom if OBS has any issues detecting the green screen properly.
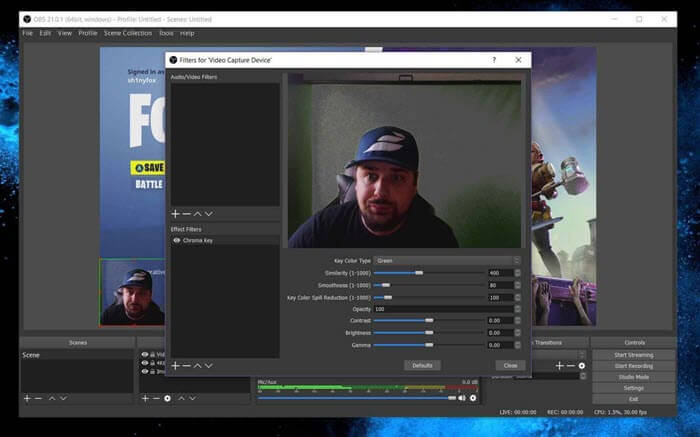
At this point, OBS will now be recognizing your green screen. Since every webcam and green screen combination differs slightly, we won’t be able to give you much insight into the perfect settings. We suggest taking some time to play around with the configuration until you find the best settings that work for you.
Aside from that, you’re good to go! OBS makes learning how to set up a green screen for streaming really easy for beginners.
Part 2. Tips to Improve Green Screens
We won’t completely abandon you though! Below are some tips for setting up the green screen in OBS for the best results so that you can host the best stream possible.
Tip #1 – Try Different Webcam Positioning
Getting the right angle for your webcam is essential, especially if you’re using a green screen.
Ideally, you should position your webcam at a 45-degree angle for two reasons. Firstly, depending on what you’re streaming, having the webcam pointed directly at your face can be unappealing to viewers. Imagine you were watching the stream: would you want the streamer to be looking directly at you?
Secondly, 45-degree angles can improve lighting significantly thus making the quality of your stream much higher.
Tip #2 – Use Your Own Configuration
Like we said before: every webcam and green screen combination is different.
Sure, you could go online and find someone else’s chroma key configuration to copy, but it won’t help you that much. These configurations don’t take into account your room’s lighting, furniture, or even the colours in your environment.
These all play a role when setting up the chroma key and it’s better just to take your time setting it up for yourself.
Tip #3 – Minimise Shadows
No matter how great your webcam is or how much you tweak the chroma key settings, shadows are going to be an issue with your green screen.
The only solutions are to minimize the shadows in your environment and improve your lighting. Lighting coming from different angles results in fewer shadows, just don’t go over the top with your lights!
Tip #4 – Choose the Right Streaming Software
Your choice of streaming software for learning how to set up a green screen for streaming is also important. OBS is by far the most popular software for streaming, but it might not be the best option for you.
It has a lot of customization options that allow you to polish your stream, but if you feel overwhelmed there are simpler options out there.
Part 3. How to Remove Webcam Background in OBS without a Green Screen
Don’t have a green screen? No problem! There are several computer programs out there that use AI technology to create a virtual green screen.
This means you don’t need to buy a green screen, but you can still get the same effects that one would produce.
1. ManyCam
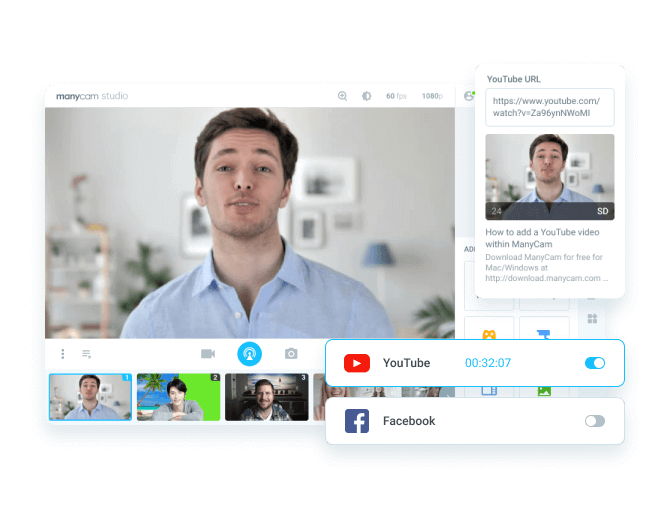
An old favourite for internet users is ManyCam. This software creates a virtual webcam that gives you so much control that in reality, you don’t even need a real webcam.
If you have an iPhone then you can connect it to ManyCam and use the iPhone camera as your computer’s webcam. Obviously, if you have a high-end webcam (we’re talking 1080p resolution and 60FPS), then that’s the better option. But iPhone cameras are better than most mid-range webcams.
That aside, ManyCam also has green screen support. This aspect of ManyCam is similar to OBS and also utilizes chroma key, but the Virtual Backgrounds features are what interest us the most. To use it, you don’t need a green screen. You can just pick the background you want to have and regardless of if a green screen is detected, ManyCam will layer the new background.
ManyCam, however, does require you to sign up for a subscription to use it.
2. ChromaCam
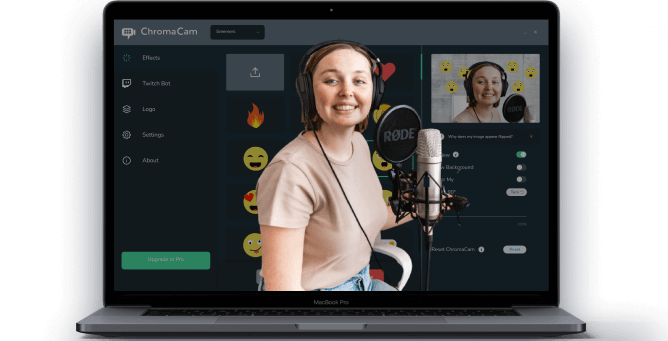
If you weren’t getting the results you wanted by reading how to use green screen in OBS then ChromaCam is another great option.
By taking advantage of AI technology, ChromaCam lets you edit your webcam feed without using a green screen. From blurring the background of your webcam to prevent giving away any personal details while streaming to completely changing the background to something more attractive, ChromeCam’s functionality allows you to take full control and create a makeshift green screen.
3. CamTwist
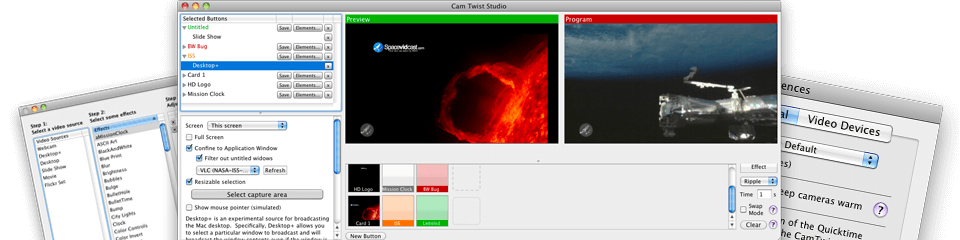
CamTwist is a Mac-only option, and is quite outdated, but is nonetheless a good alternative to OBS.
A lot of this program’s features are directed toward screen recording rather than webcam management, but both sets of features are useful for your streaming journey. For instance, it is capable of capturing your webcam’s feed in 1080p, streaming to all the top live streaming platforms, and comes with a wide selection of video effects that you can apply to your webcam feed.
Even though Windows users can’t use CamTwist, there are plenty of other options out there (which go a lot further).
BONUS: Use StarzMirror for Streaming
If you really want to take your streaming game to a whole new level, instead of learning how to use green screen in OBS, you can do the same thing in StarzMirror.
Free DownloadSecure Download
This is one of the newer programs on the market that enable live streamers to put their best quality out there.
- Stream your iPhone or Android smartphone to your computer
- For Android devices, you can take full control of the smartphone from your computer
- Very straightforward to set up and start streaming with
- Supports streaming audio from iOS/Android to the computer
- Includes mobile screen recording tools
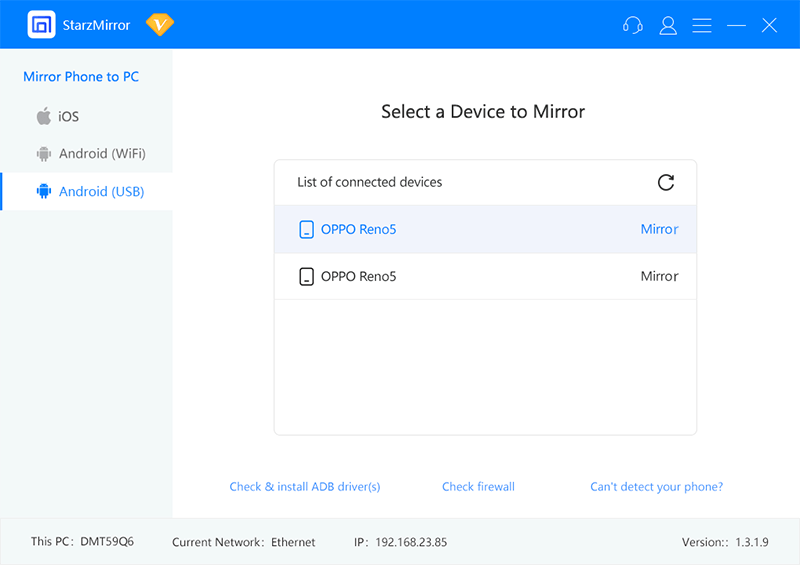
So, if you want to stream and show your viewers something on your iPhone, StarzMirror would be the best program you can use to do so.
A limitless free trial is available so that you have a chance to check it out before you buy a copy for yourself.
Conclusion
Streaming is not only a great hobby to have, but over time it can be very lucrative and if you stick with it, you’ll undoubtedly build a huge fanbase.
Hopefully, now that you know how to set up green screen for streaming, you can get started with this new endeavour and share a high-quality and professional stream.
Some parts of streaming will require you to be a bit tech-savvy but for the most part, it’s easy and enjoyable.