Anytime there is a new iOS update, iOS users are always eager to get their hands on it. It’s always exciting to be among the first set of users. As a result of the global rush on any latest iOS update, there is bound to be an overload on the Apple servers, resulting in your device getting stuck on the “Update Request” screen for an extended period.
Then you are led to wonder why your iPhone won’t update. So, while a handful of users may get their update effortlessly just in time, a larger percentage normally experience the overdue display of the “Update Request” screen.
Why Won’t My iPhone Update & How to Fix
Installing updates on your iPhone immediately after they are released helps to ensure it remains up-to-date. It is understandable when your phone is struggling with an update installation. That is because you may be doing the right thing, but something on your system might be an obstacle to the successful installation of the update. Therefore, if you are experiencing this problem on your iPhone, a couple of factors may be responsible for it.
1Automatic updates aren’t enabled
Are you wondering why my iPhone won’t update? What you are experiencing might be down to your automatic updates being disabled. As a result, if the automatic updates have been disabled, you can get it enabled by observing the steps below;
- 1. Open Settings
- 2. Tap on “General” before tapping on “Software Update”
- 3. Tap on “Automatic Updates.” After that, carefully have the button swiped to the right to get the feature activated.
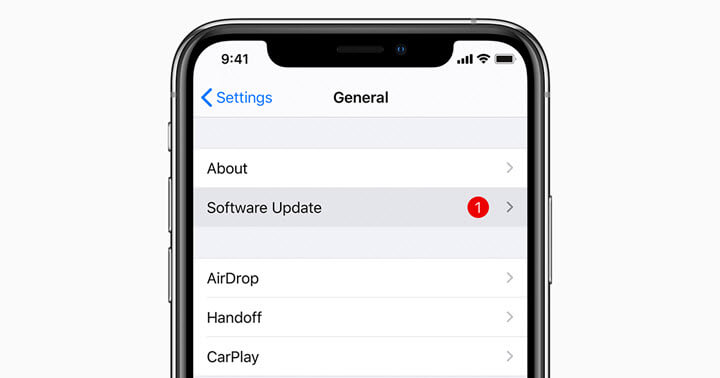
This simple, yet powerful setting will enable your iPhone to download updates anytime they are made available by Apple. Then, you can undertake the installations when you are not making use of the phone.
2Not enough space on your device to accommodate the installation
This one happens to be one of the most common reasons for updates failing to download successfully on iPhones. If, after trying so many times, you cannot understand why won’t my iPhone update, you might want to confirm the amount of space you have in your device because that can be the problem.
There is a higher chance of this happening on an iPhone that has 32G memory than it would for one that has up to 256G memory.
So, an easy way to fix this problem is by deleting data and apps from your device. When you do that, you would have created some more space for the update to reside.
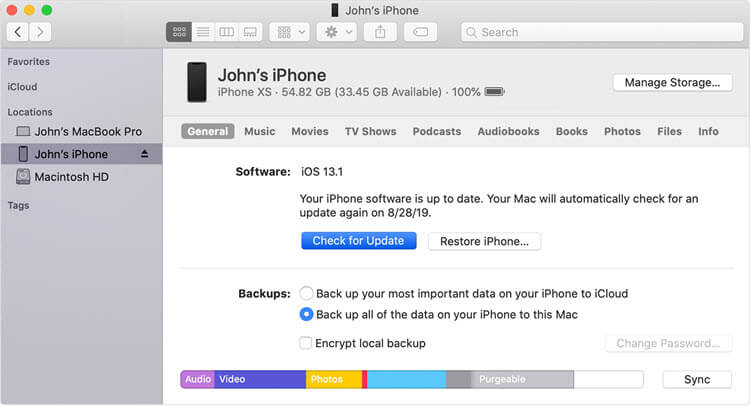
But, if deleting data and apps from your iPhone does not sound like a viable option, you can solve the problem alternatively by using iTunes to install the updates. If you intend to resolve the problem with iTunes, here is what you should do;
- 1. Open your PC and start iTunes
- 2. Use the appropriate cable to connect your PC to your iPhone
- 3. The moment it shows up, click on the iPhone symbol at the iTunes screen’s upper left.
- 4. Look at the left pane and click on “Summary.” After that, look towards the right and click on “Check for update.”
- 5. Click on “Download & Update.” Allow the update to install on your iPhone.
3Error Message
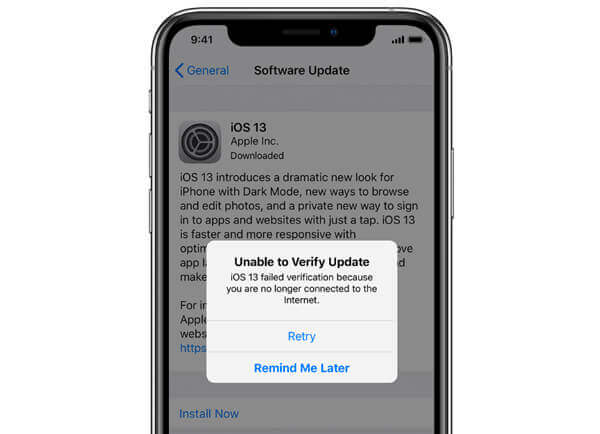
The update might be successful or not. Sometimes, you may get an error message while trying to install the update. The two popular errors are “Unable to Verify Update” and “Unable to Check for Update.”
Connection issues normally cause both errors. Maybe you had an issue with your Wi-Fi connection as the update was ongoing, or it could be a problem from Apple’s end. Either way, if you are experiencing any of these, here is what you should do;
- 1. Check the top of your phone screen area to ensure the Wi-Fi signal icon is showing.
- 2. Tap on “Try Again” whether the update will be successful on the next try.
- 3. If it doesn’t, go back to the beginning and start the whole process again.
- 4. If the error persists, try using another Wi-Fi connection and see whether it will work. You might want to look for a fast and reliable network.
Although the long time might not be a problem, you need to be sure everything is fine by looking out for the following;
4Other Issues
- 1. Please do not turn your Wi-Fi off or go out of its range when the updating process is ongoing.
- 2. If the Wi-Fi in question serves multiple devices, avoid watching movies or doing any other Wi-Fi-intensive activity. It will automatically slow the update down.
- 3. Having enough battery life that can last the entire process is necessary before you begin. Or make sure the iPhone is plugged into power as it is updating.
Generally, you may want to avoid using a public Wi-Fi network to update your iPhone. Most public Wi-Fi connections like the ones you find in coffee shops and others aren’t reliable or fast enough.
Why My iPhone Won’t Turn On After Update?
StarzSoft KeyPass is just a user-friendly tool that can help you fix over 120 iPhone problems and more than 200 iTunes problems. This tool will enable you to fix your iPhone won’t come on after update problem in a few clicks. Download StarzSoft KeyPass software on your system to get started.
100% Clean & Safe
When you are done with the download, please do the following;
Step 1. Install the StarzSoft KeyPass on your system and have it opened. Click on Start.
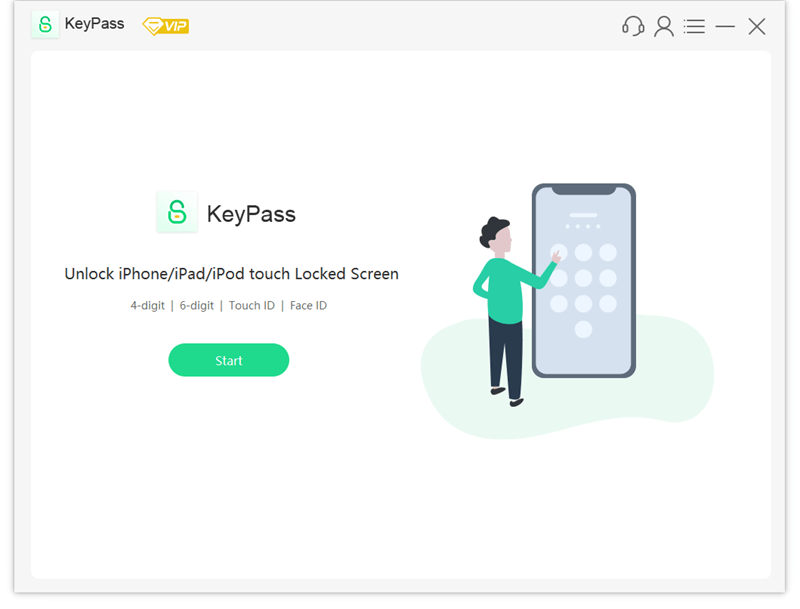
Step 2. Click Unlock Now.
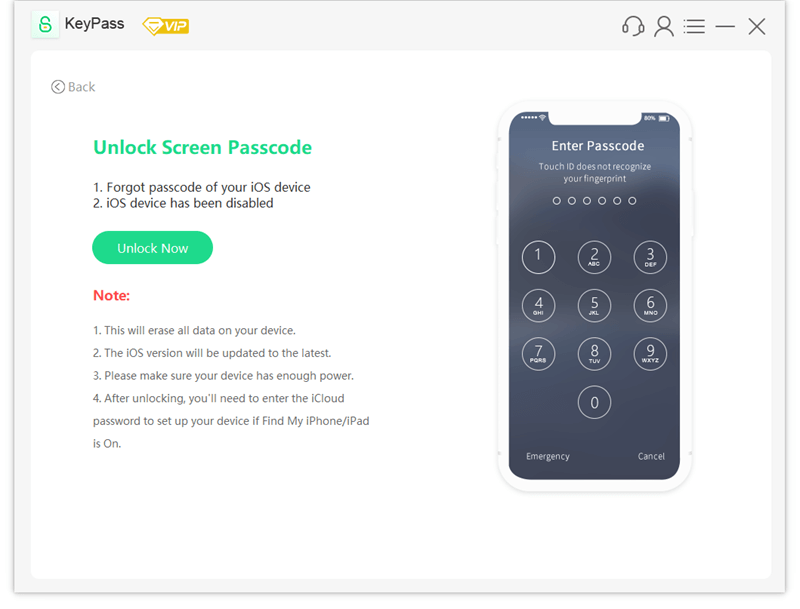
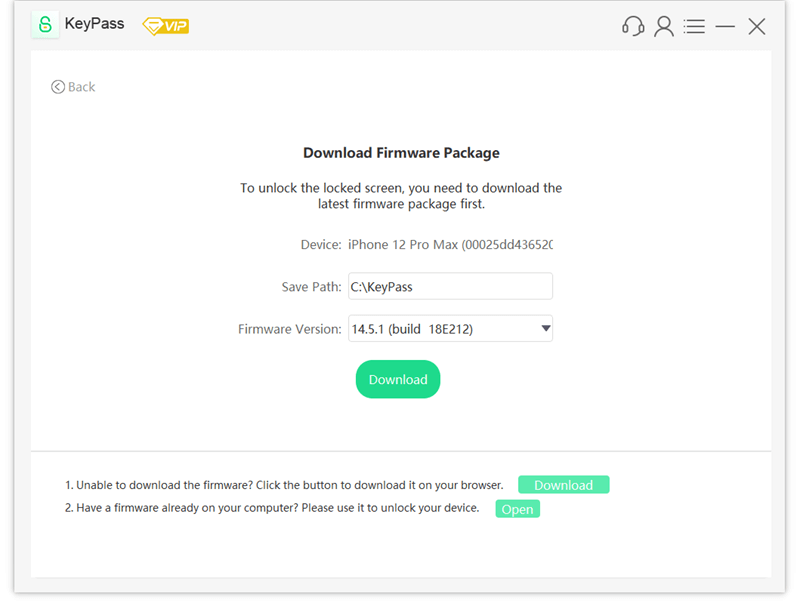
Step 3. Connect your iPhone to computer and download the firmware package.
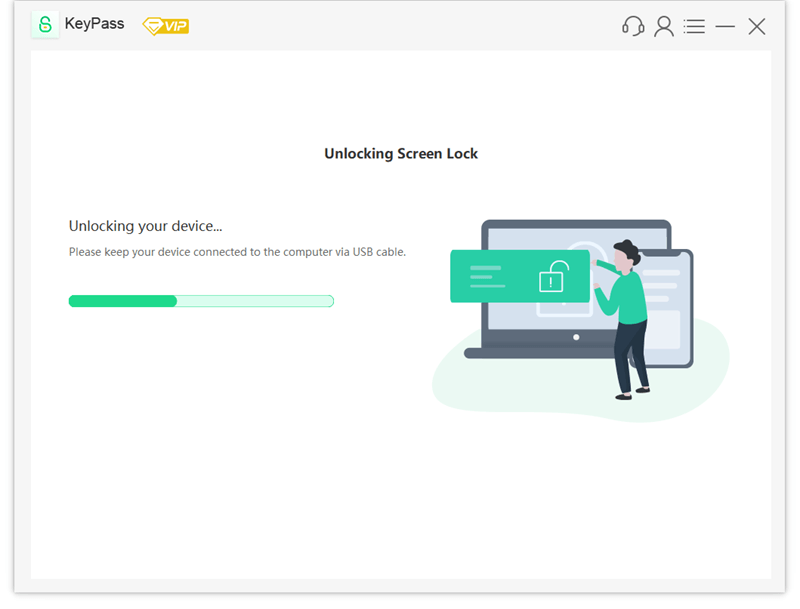
Step 4. After downloading the firmware, it will start to fix the problem. The fixing process will commence while you need to wait patiently.
Conclusion
You do not need to torture yourself with the question, why won’t my iPhone update to iOS 16. This article has clearly shown that it is an issue you can conveniently resolve on your own if you know what to do. It can happen to anyone, and when it does, employ any solution that have been described above. This article has equally discussed the fact that your iPhone may not come on after an update. The simplest solutions to this problem have also been discussed in this post. The least you can do is follow the instructions line after line.
